Creating Agent website using Agent Manager
This article will show you how to Create an Agent Website using Agent Manager with Placester.
With the NEW Agent Manager feature for our Office Builder / Broker Pro subscriptions, you would now be able to:
- Easily onboard, support and collaborate with your Agents!
- Invite Agents to your Broker subscription with Placester.
- Manage all your Agents and their information across their Placester account and website as well as the Offices displayed on your main Broker site.
- Easily add Agents to your Roster or CRM lead routing.
- Create templates for your Brokerage, duplicate them and assign them to an Agent.
Please note: This feature is only available through our Office Builder / Broker Pro subscriptions. If you would like to learn more about this subscription, please check out our packages and pricing page.
Please take note that these features are only available for codeless version websites.
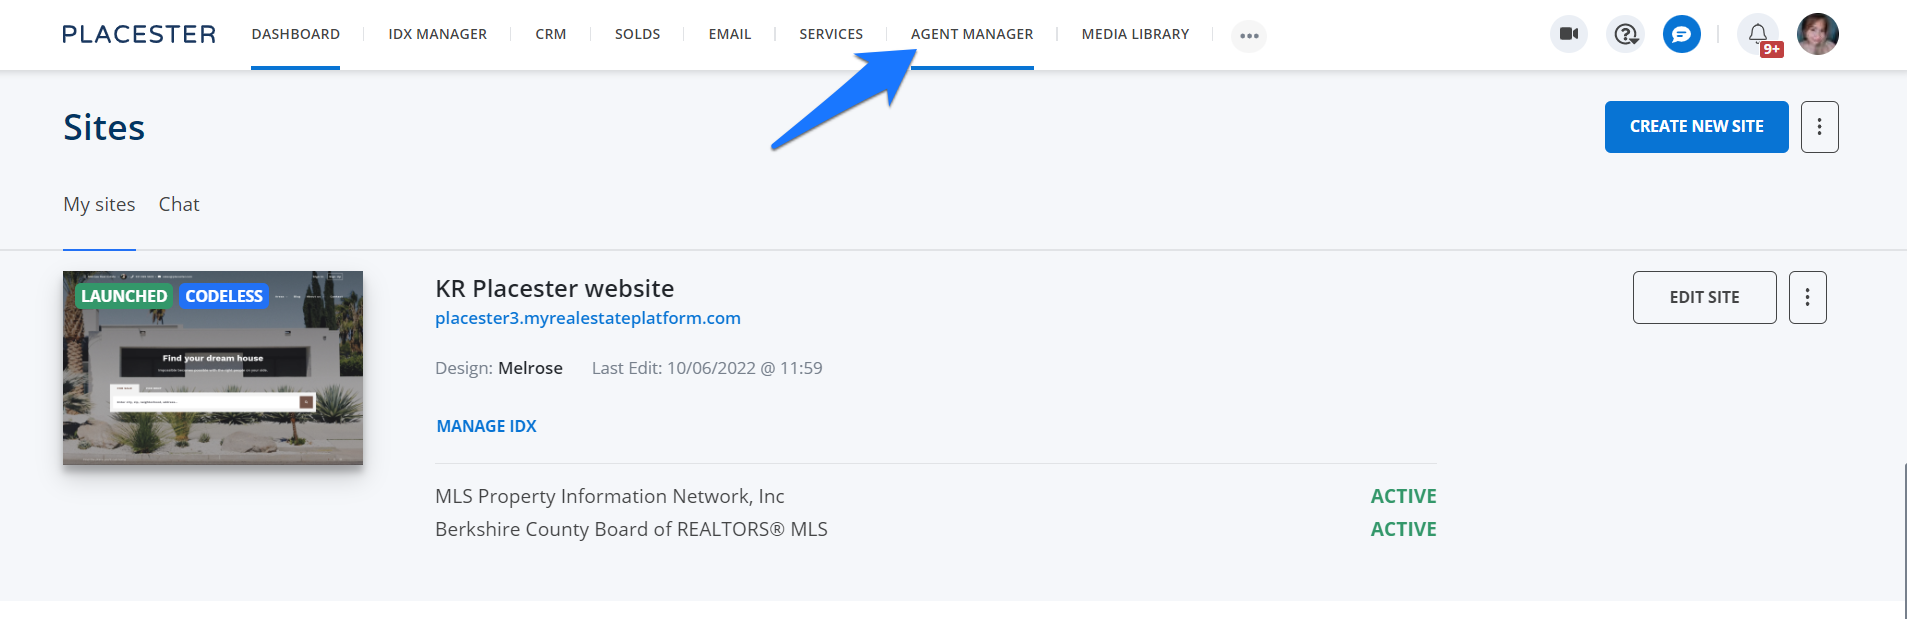
Once your logged in, click the agent manger tab at the top of your dashboard.
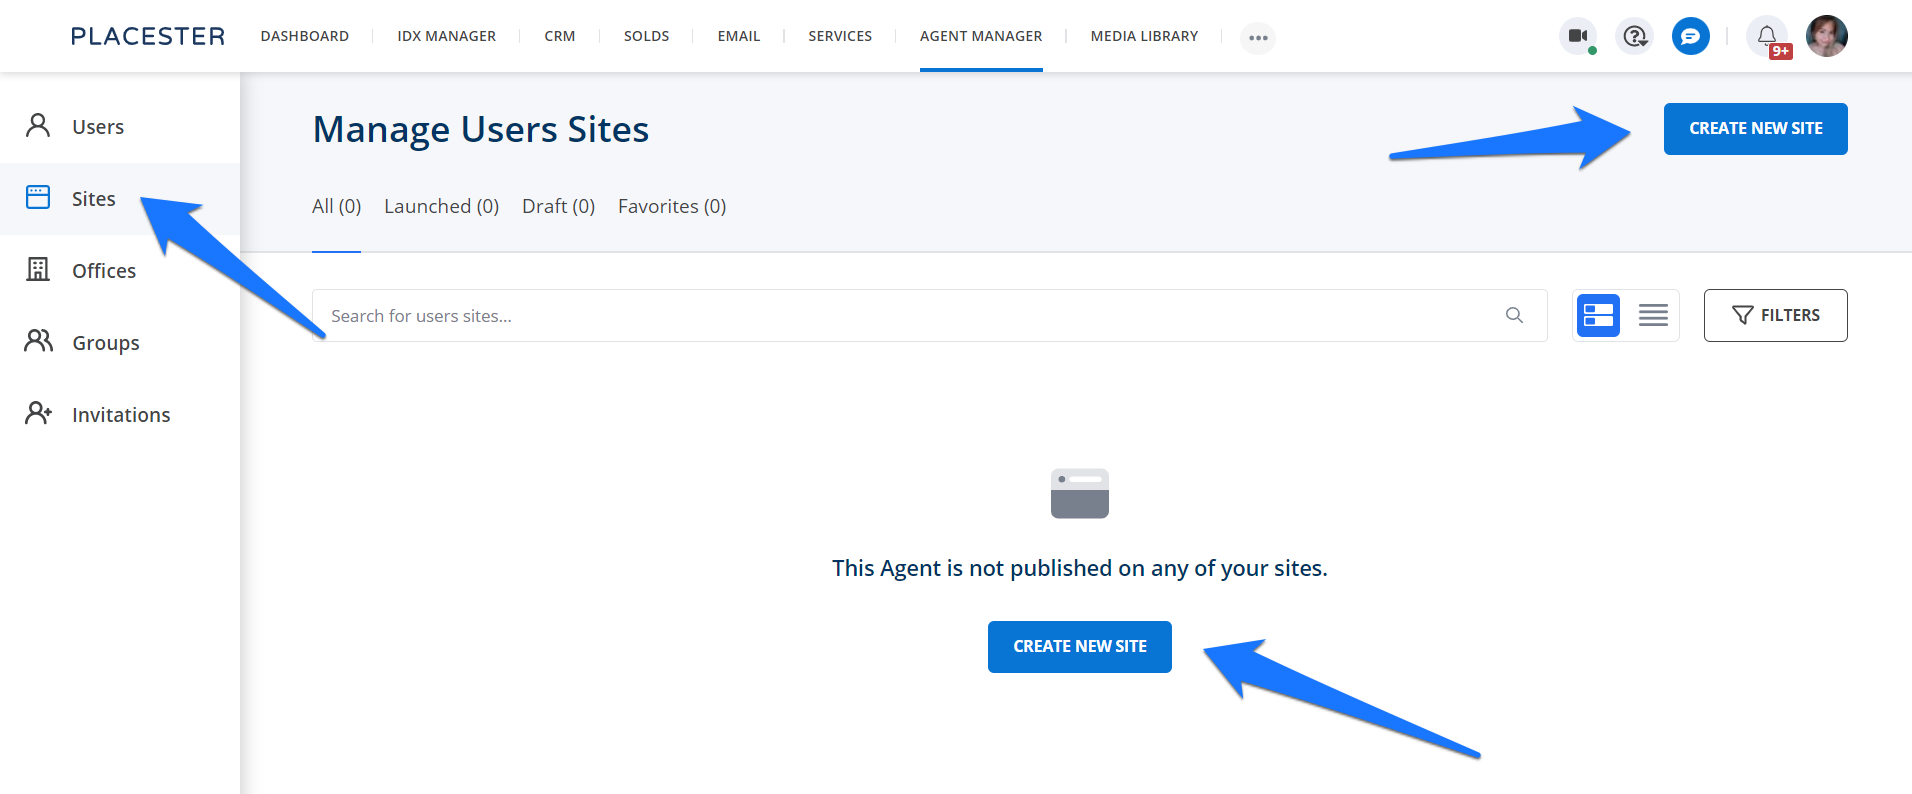
Next, simply go to the sites tab under agent manager then click Create new site.
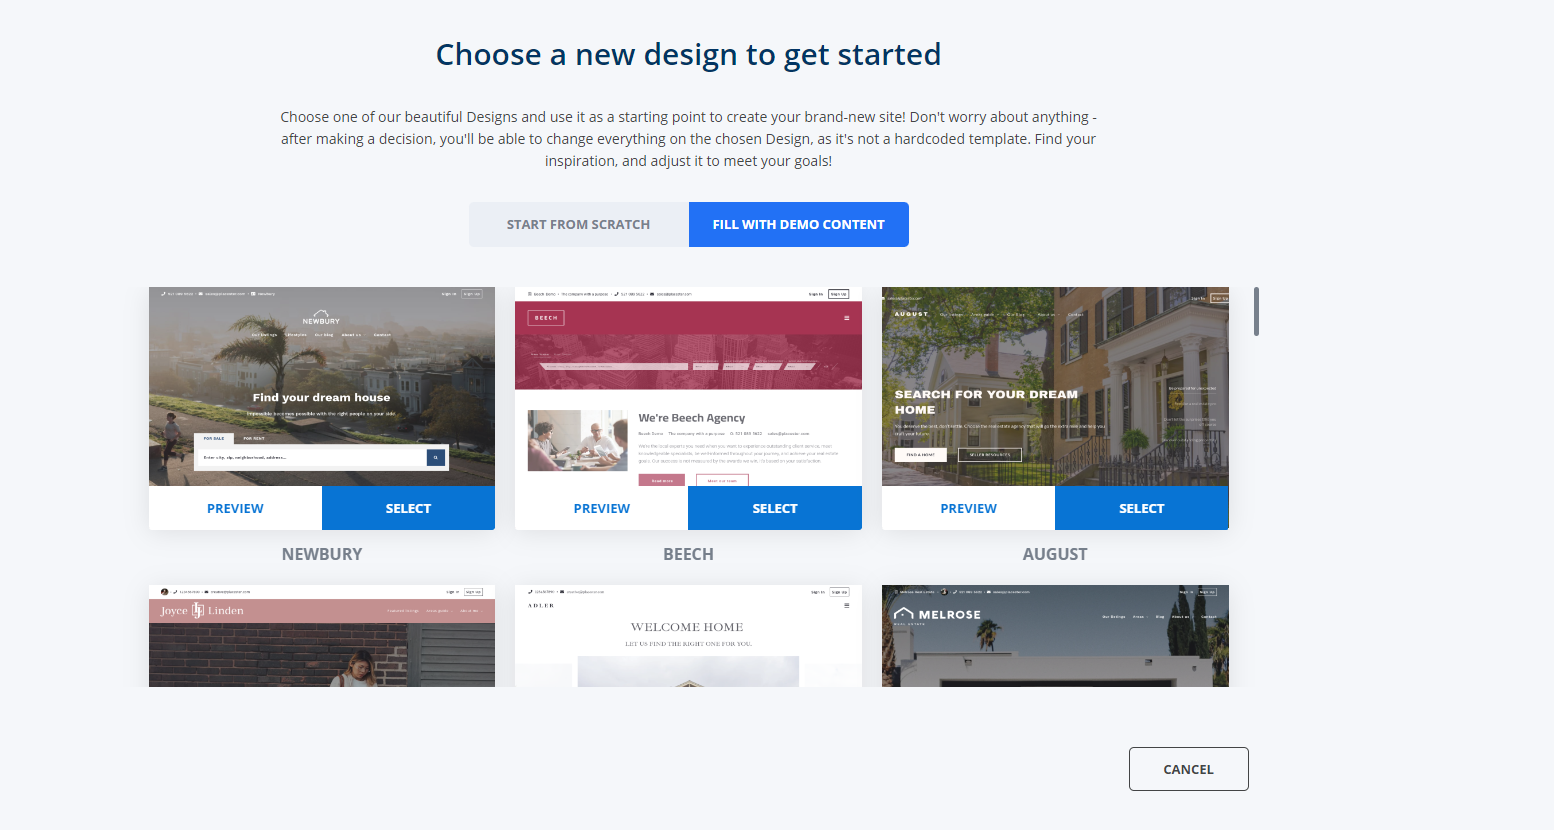
You will then be redirected to the page where you can choose the website design and there's also an option to start the website from scratch or fill it with demo content.
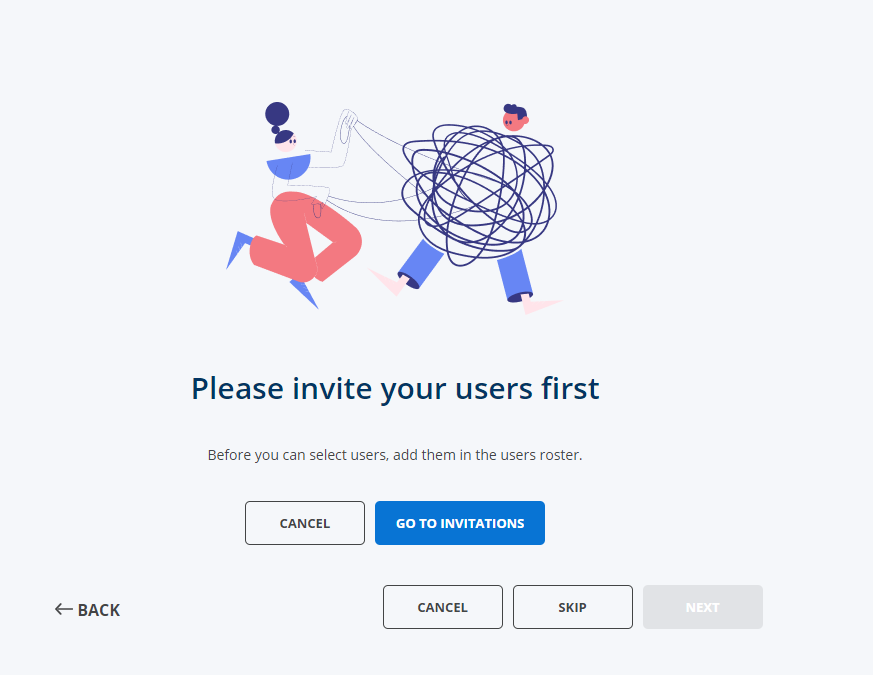
After you selected website design, it will bring you to this page where you will select a user (an agent) but if you haven't add any users yet, you will be asked to invite a user or skip this and proceed to the next step.
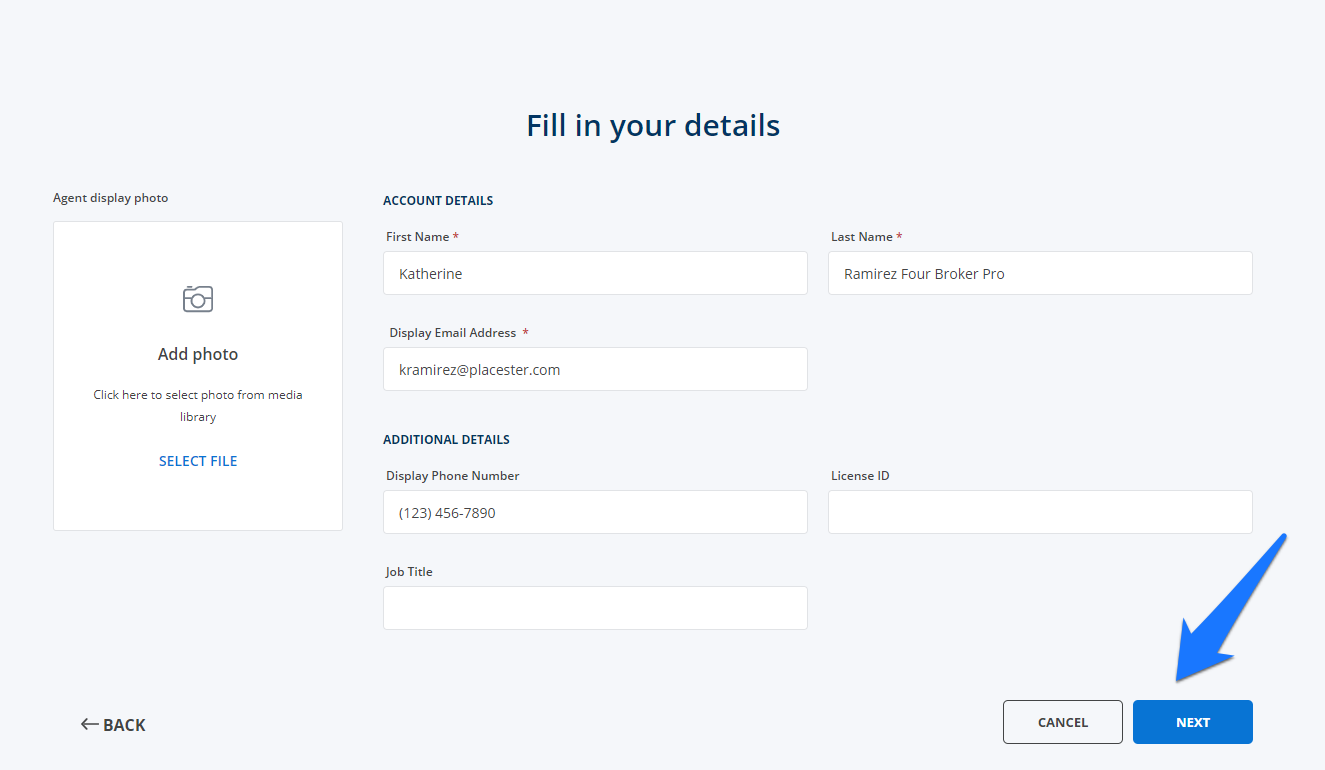
The next page is where you add your agent's detail. Once you completed this, click the next button to proceed.
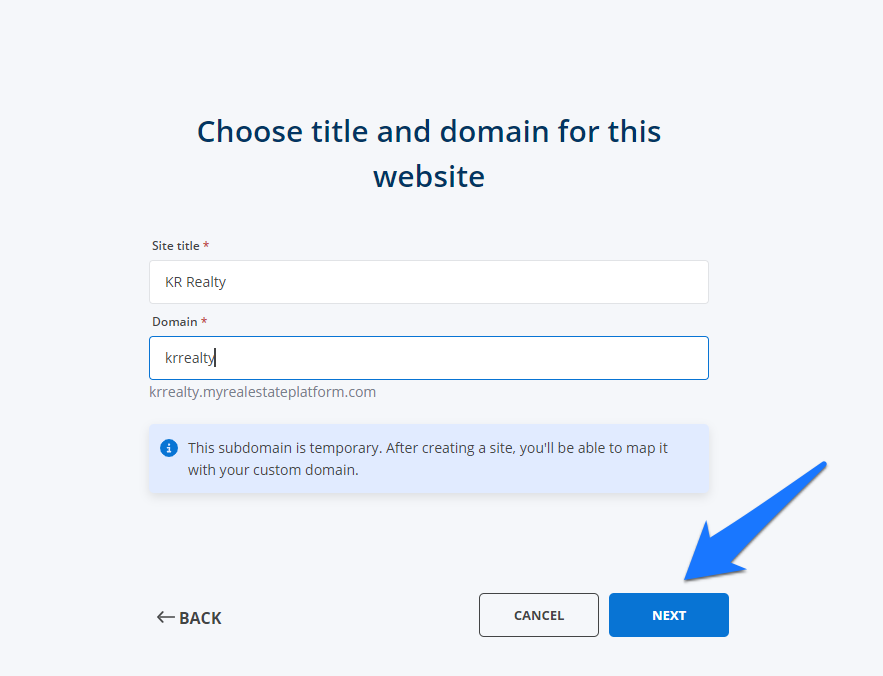
The following page is where you will have to add the Site Title and the domain name.
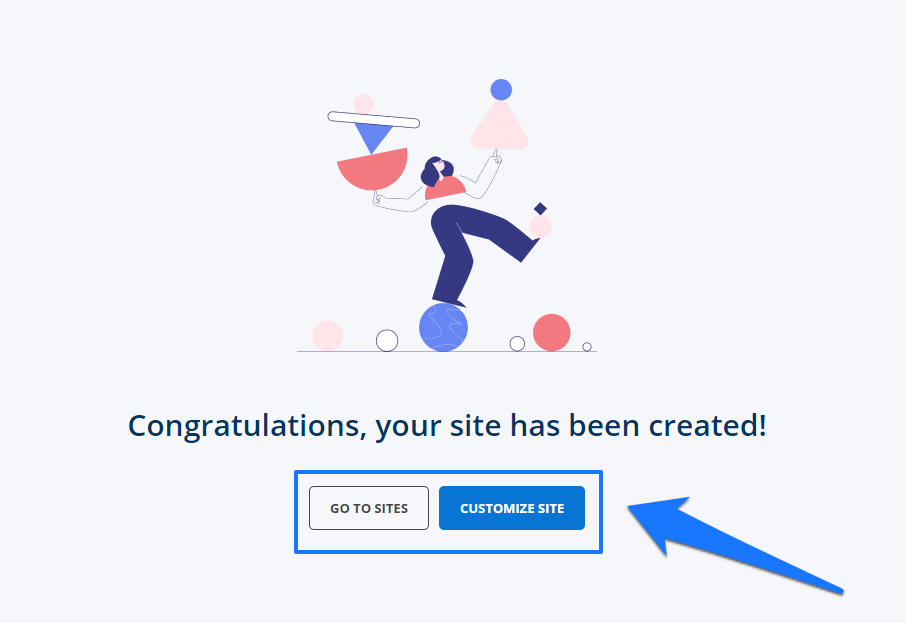
After adding the Site Title and Domain Name, you 're done. You can Go to Sites or Customized the Website
Assigning the Created Site to your Agent
Please click this link to learn more about Assigning/ Unassign & Changing Agent Site Feature using Agent Manager