Custom Banner
These steps are for the Legacy Customizer. For Site Edit, see Adding a Custom Banner.
This article will show you How to Add a Custom Banner to your website.
This feature will allow you to show custom banners on your website. It's possible to target specific pages, or even schedule a banner for the future to prepare for an upcoming marketing campaign. It's also possible to create multiple banners showing in different places on the website (such as listings only). There's a new section for it in the Customizer called "Banner Builder".
Accessing Custom Banner
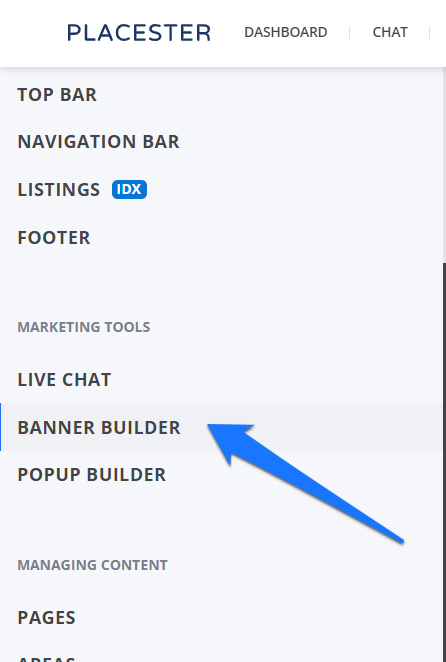
Once you're logged in to the backend of your Placester site, you can access the custom banner under the marketing tools. Click Banner Builder.
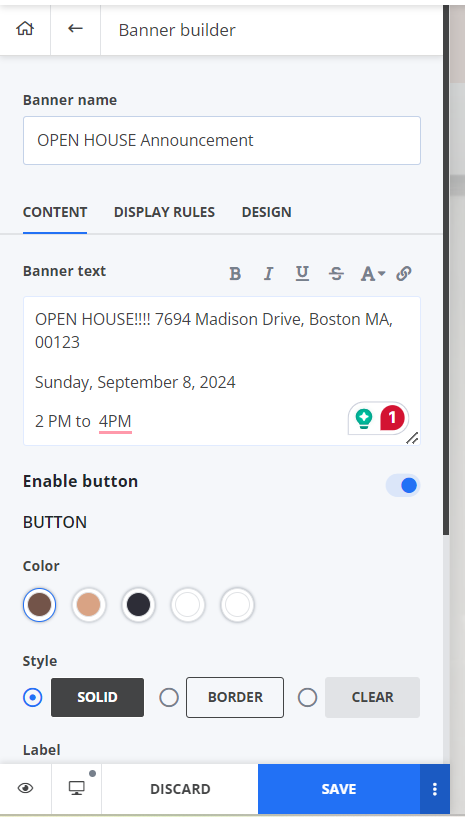
Click Create New Banner, add a title and banner text.
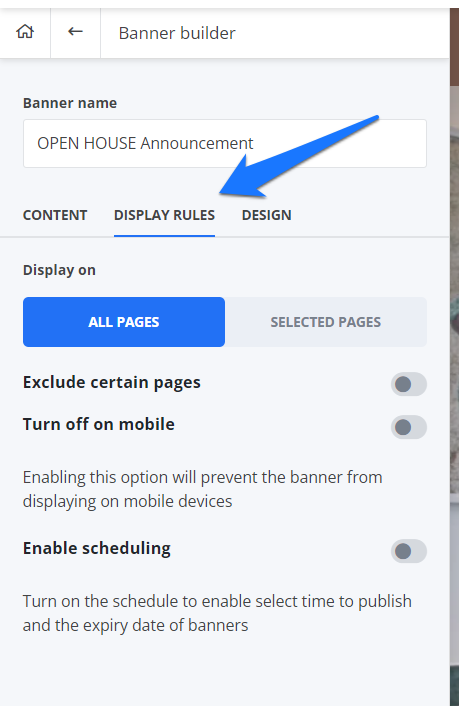
The Display Rules Tab is where you can choose the page to display your custom banner. You can set it to display to all pages, display it to selected pages, have the option to exclude specific pages, and turn it off on mobile.
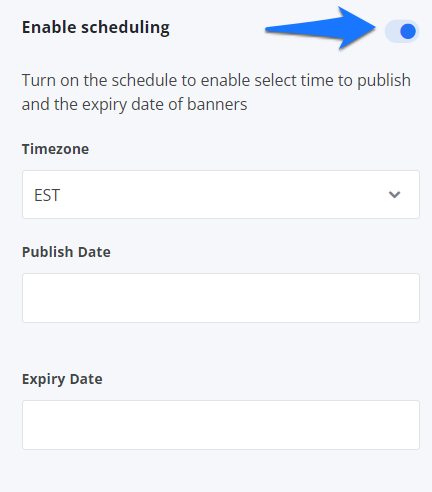
You can also turn on the schedule to enable select time to publish and the expiry date of banners.
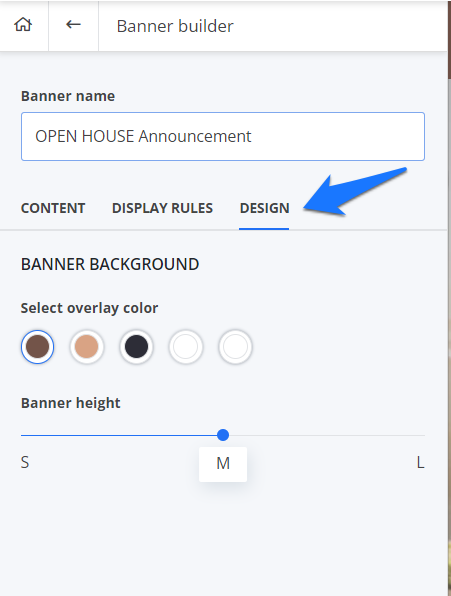
The Design tab is where you can adjust the banner size and the banner background color.
Once done, you can click the Save button.
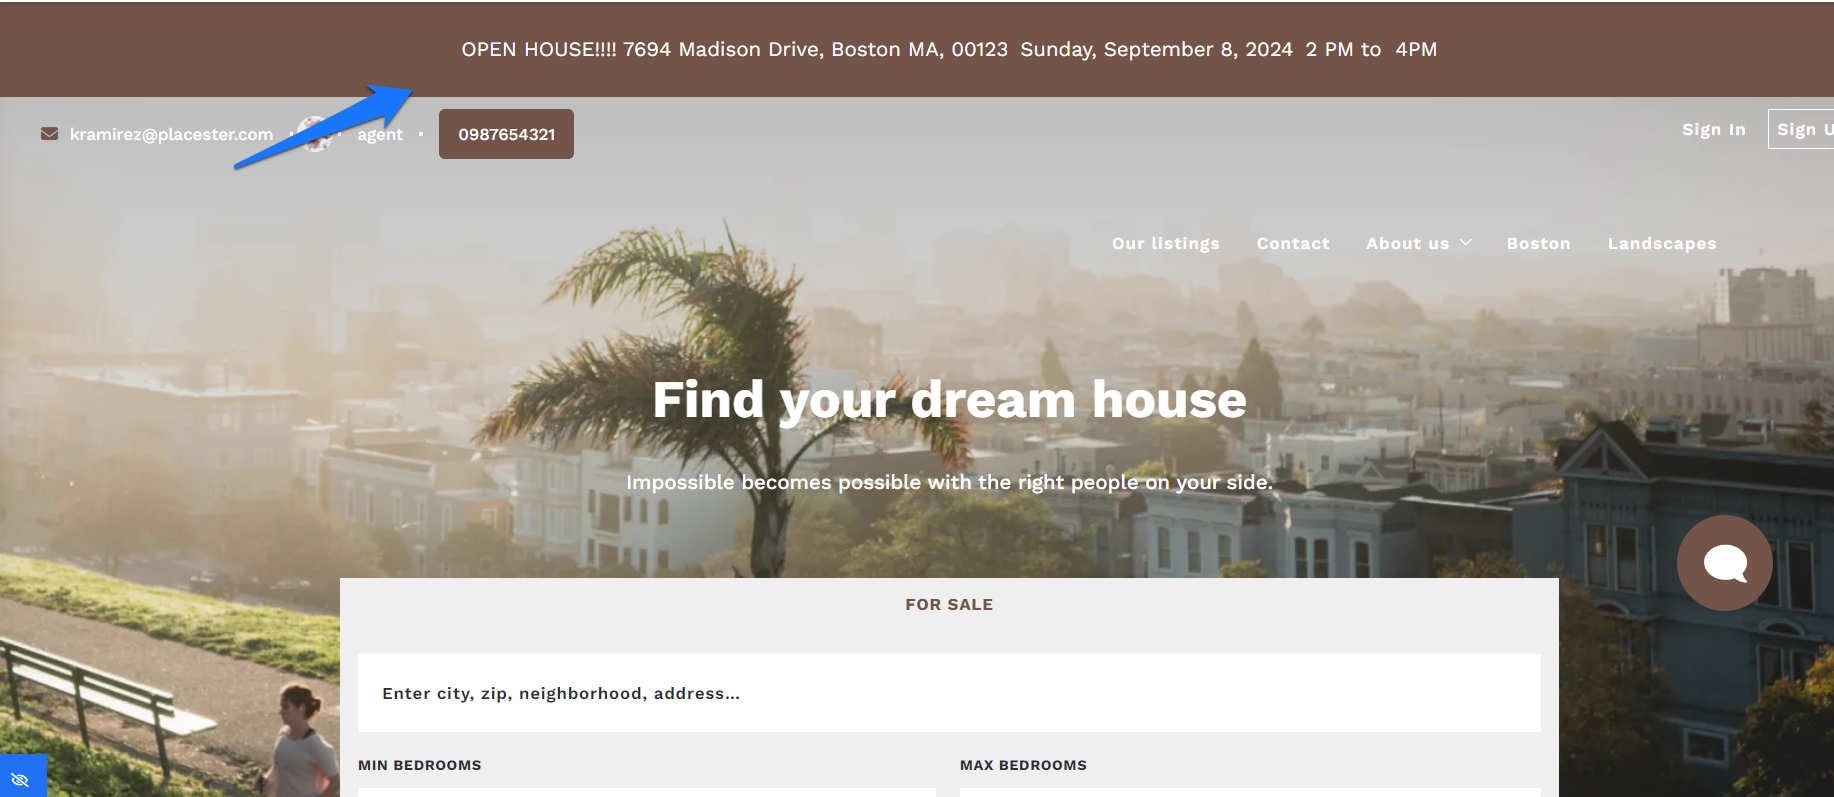
This is how the banner will look on the website:
Need More Help?
For questions, concerns, or feedback, please chat with our team: https://app.placester.com/chat