Custom Property Page Banner
These steps are for the Legacy Customizer. For Site Edit, see Customizing Property Detail Pages.
This article will show you how to Add a Custom Property Page Banner
Custom Property Page Banner - a widget enabling you to add custom messages to your listing pages. It is now available on all Placester codeless websites.
Key features
- Seamless integration: Easily add any custom notes or information to your property detail pages.
- Tailored information: Create multiple versions of your custom notes to appear on various page types, including your listings, office listings, or other categories based on set criteria.
Dashboard
Log into your Placester dashboard, then click Edit site to be taken to the customizer slideout. In the customizer slideout click Listings> Filters and Featured Listings.
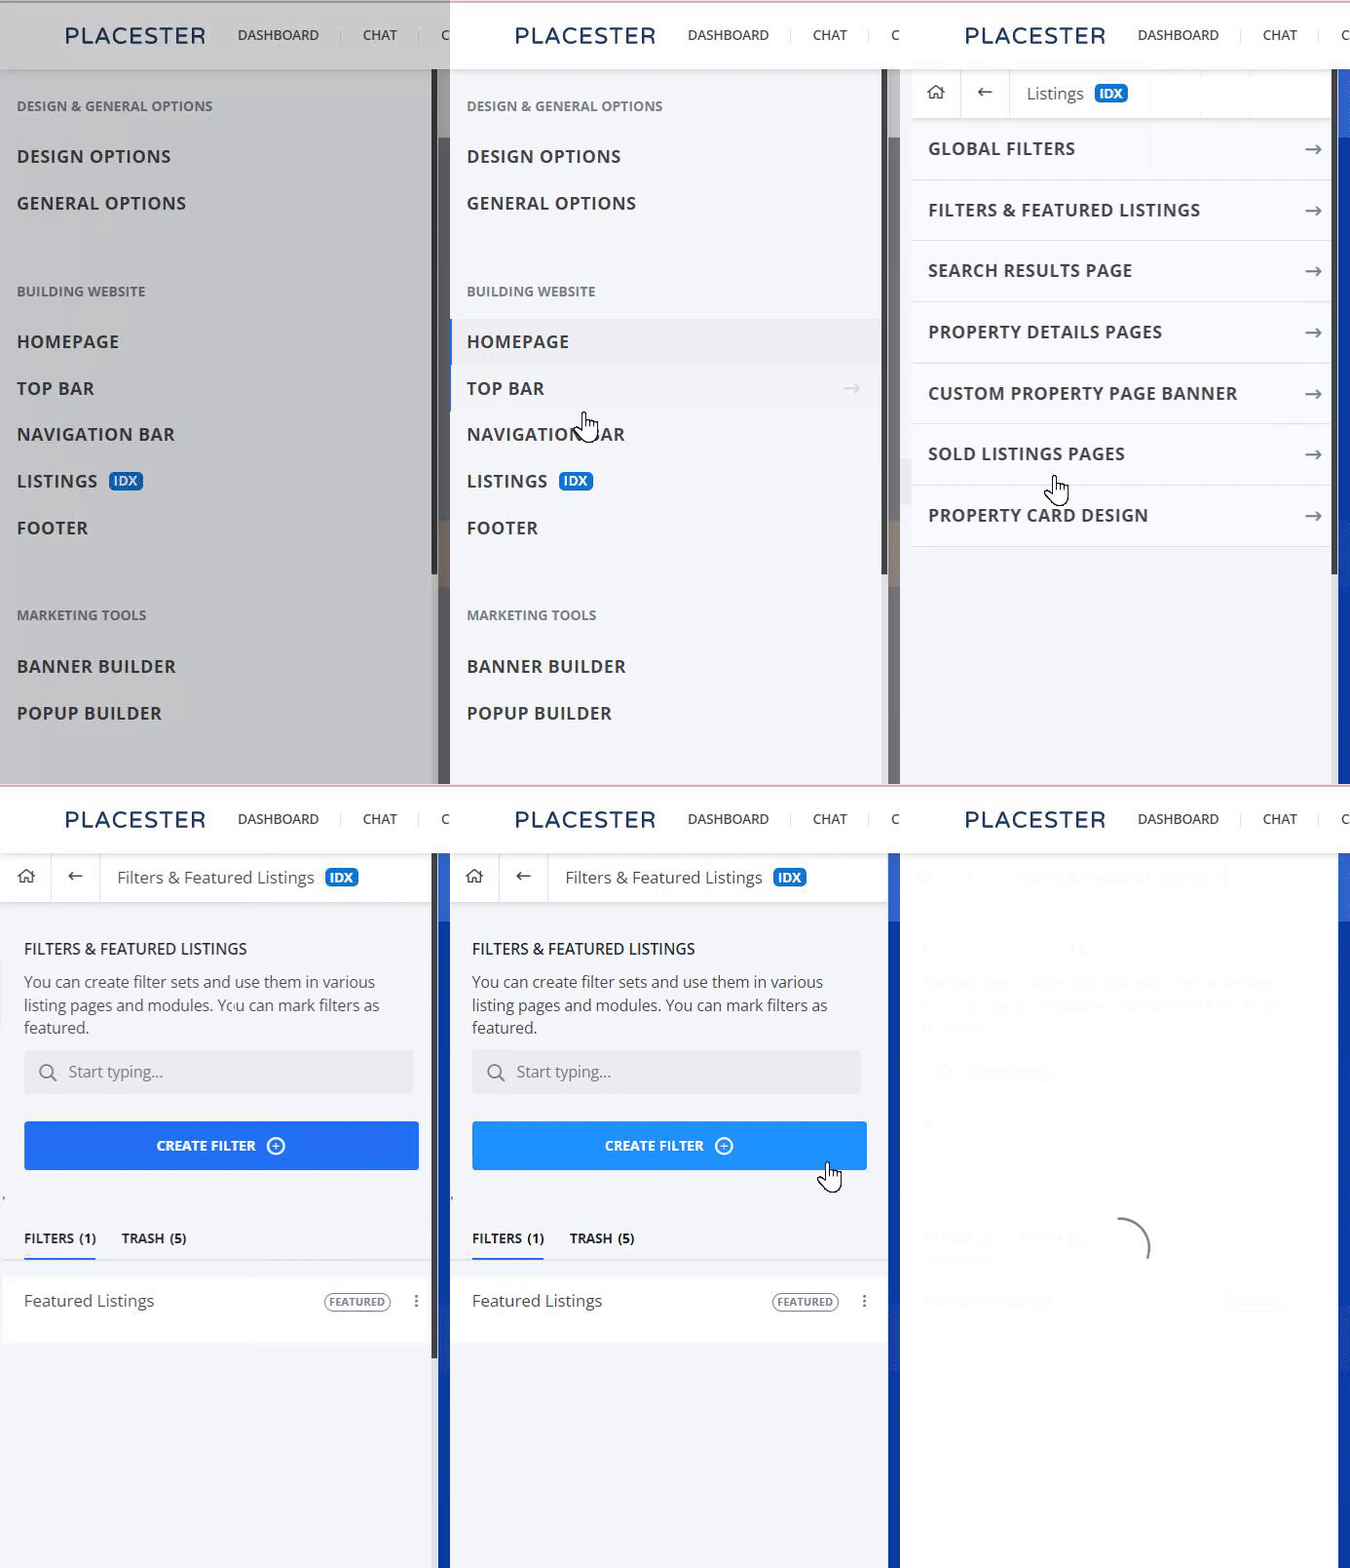
Create a filter and set the criteria for the listing page that you want to display the custom property page banner. For example, if you want to add it to specific Listings, you can use the MLS ID criteria.
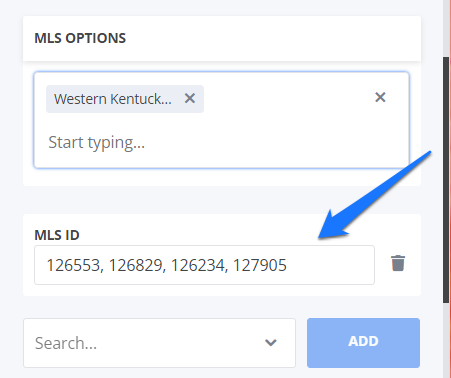
Once you have added your filters, click the Save button.
Next is to go to the Custom Property Page Banner.
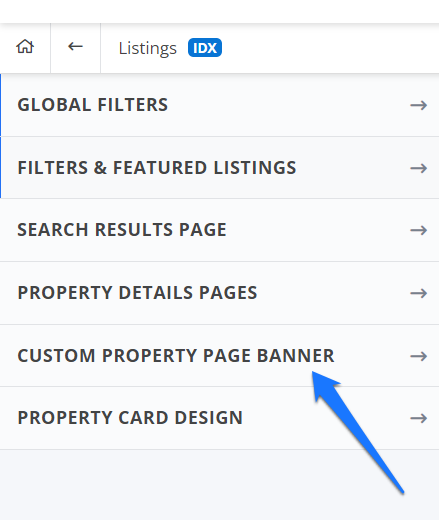
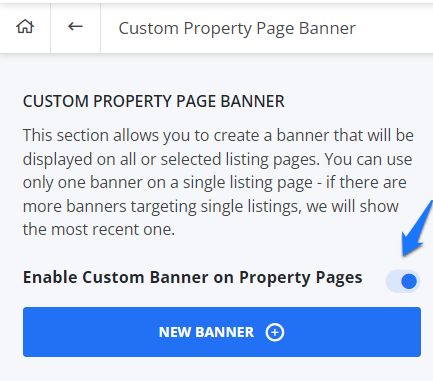
Enable the Custom Banner on Property Pages > New Banner.
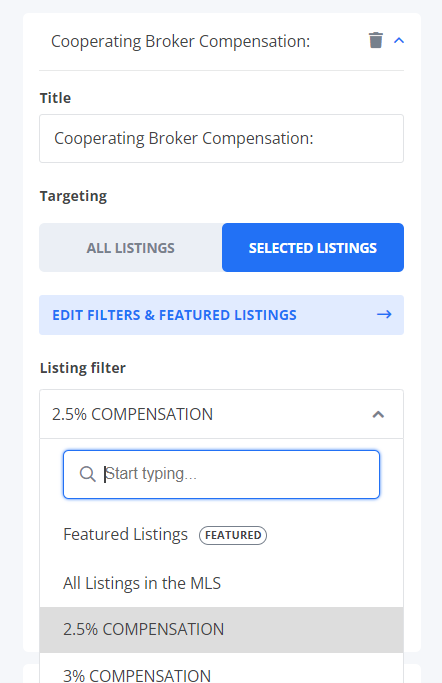
Add your Banner Title then select your Target. If you wish to display the custom banner to the specific listings, click selected listings and choose the filter you created earlier from the list of listing filters from the dropdown menu. Once you're done, click Save.
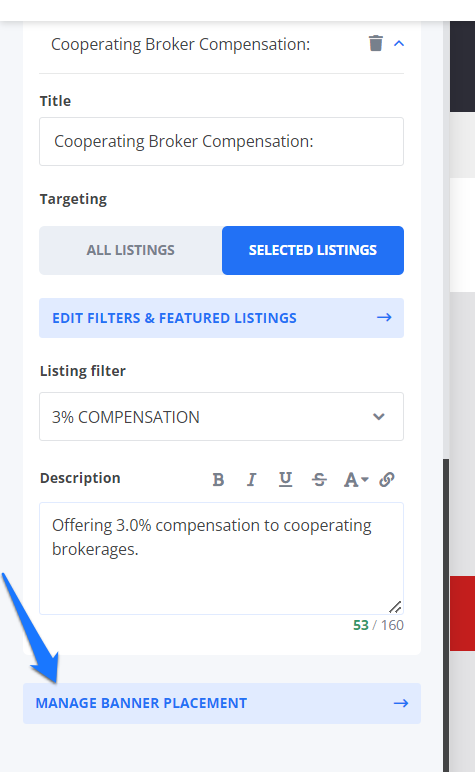
To change the banner placement on the property page, scroll down the editing page and click Manage Banner Placement
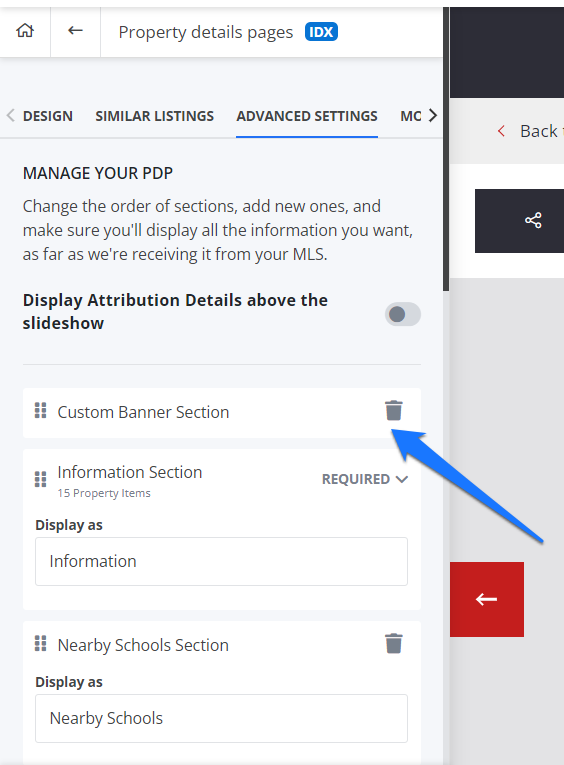
This will bring you the property details page advanced setting and you can drag and drop the banner in the spot you want it in.
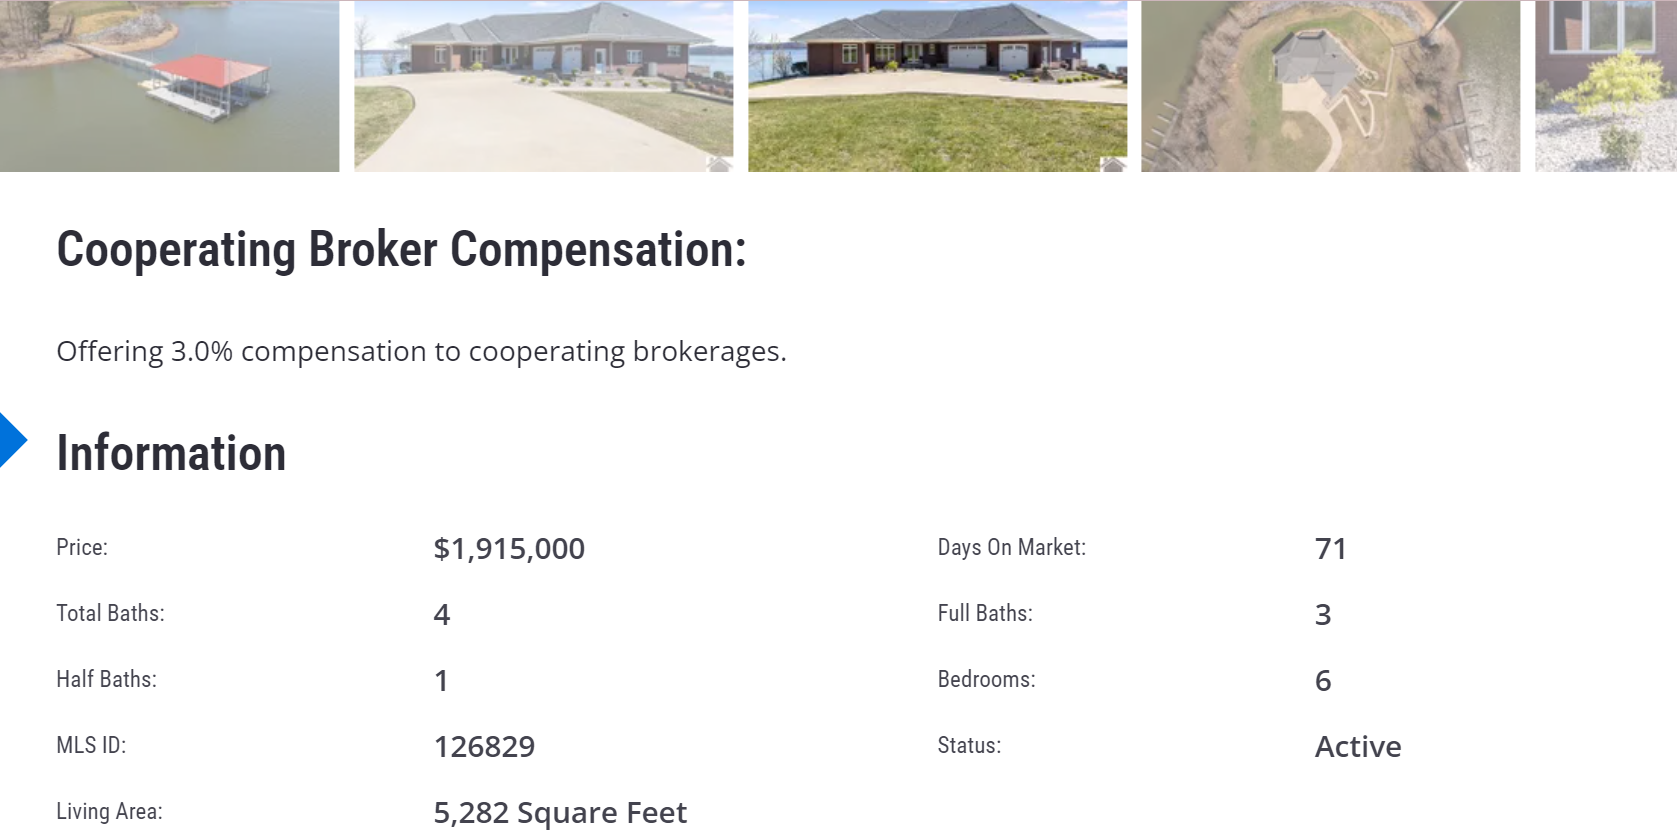
This is how the banner looks like on the live site.
You may also want to check this video walkthrough in adding specific verbiage to individual listings for commissions. https://www.loom.com/share/70c333c3ee264db6a86f266055d9cdf7?sid=ff42ab7d-612d-455b-8d51-15bad96bf995