Using the Content Automation Dashboard
Use Dashboard to see the current destination and schedule. Use History to follow individual content runs.
Before you begin: Content Automation must be active. Open Content → Blog. The Dashboard is available before setup is complete.
Dashboard
Select Dashboard.
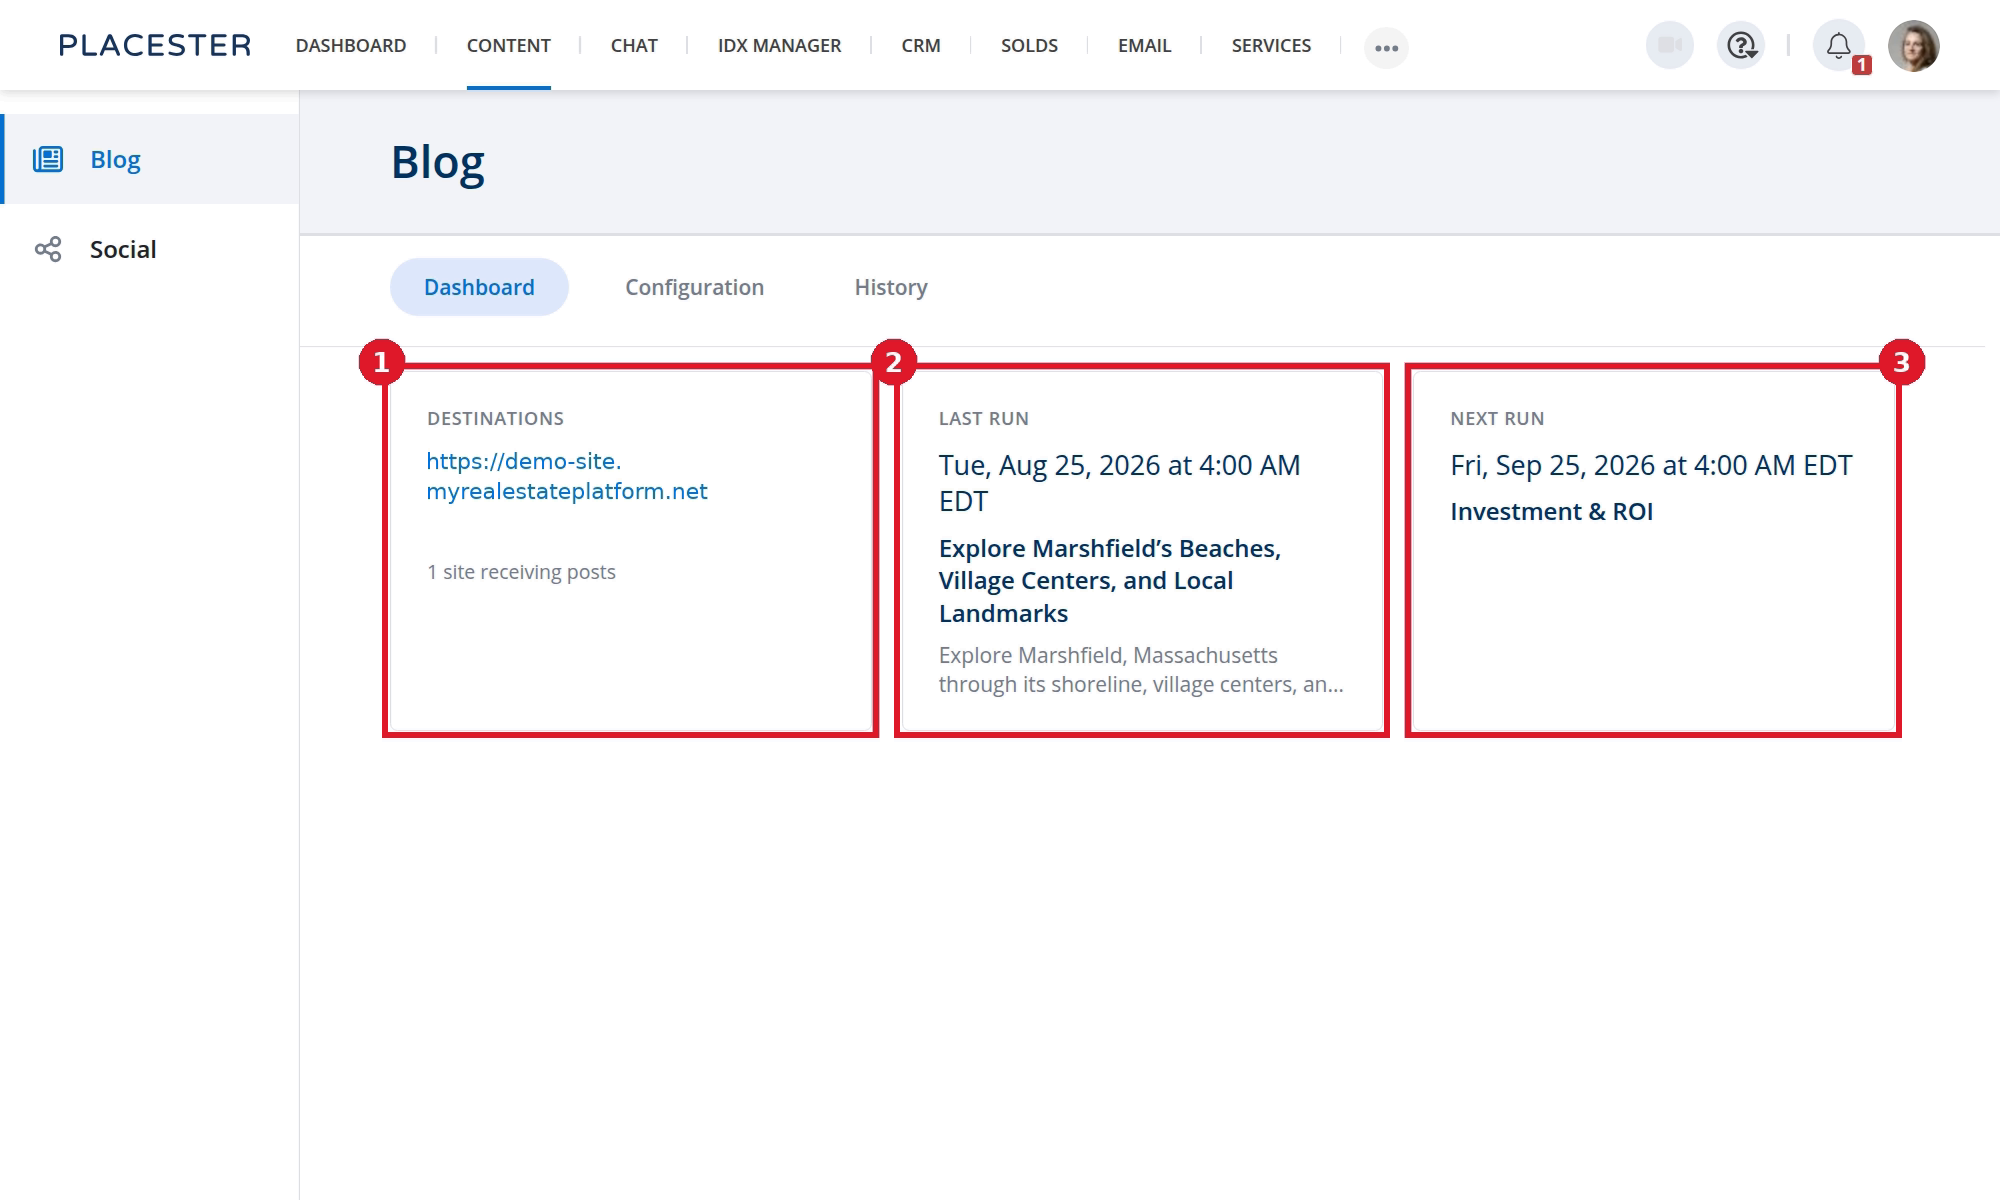
- Destinations shows the one website receiving posts.
- Last run shows when Content Automation last ran, plus the article title and excerpt when available.
- Next run shows the next scheduled slot and upcoming topic when available.
Before the first completed run, Last run displays a dash. If automation is Off, a next run may not be scheduled.
If your Business Profile is incomplete, a banner asks you to finish name and operating areas before generation can run.
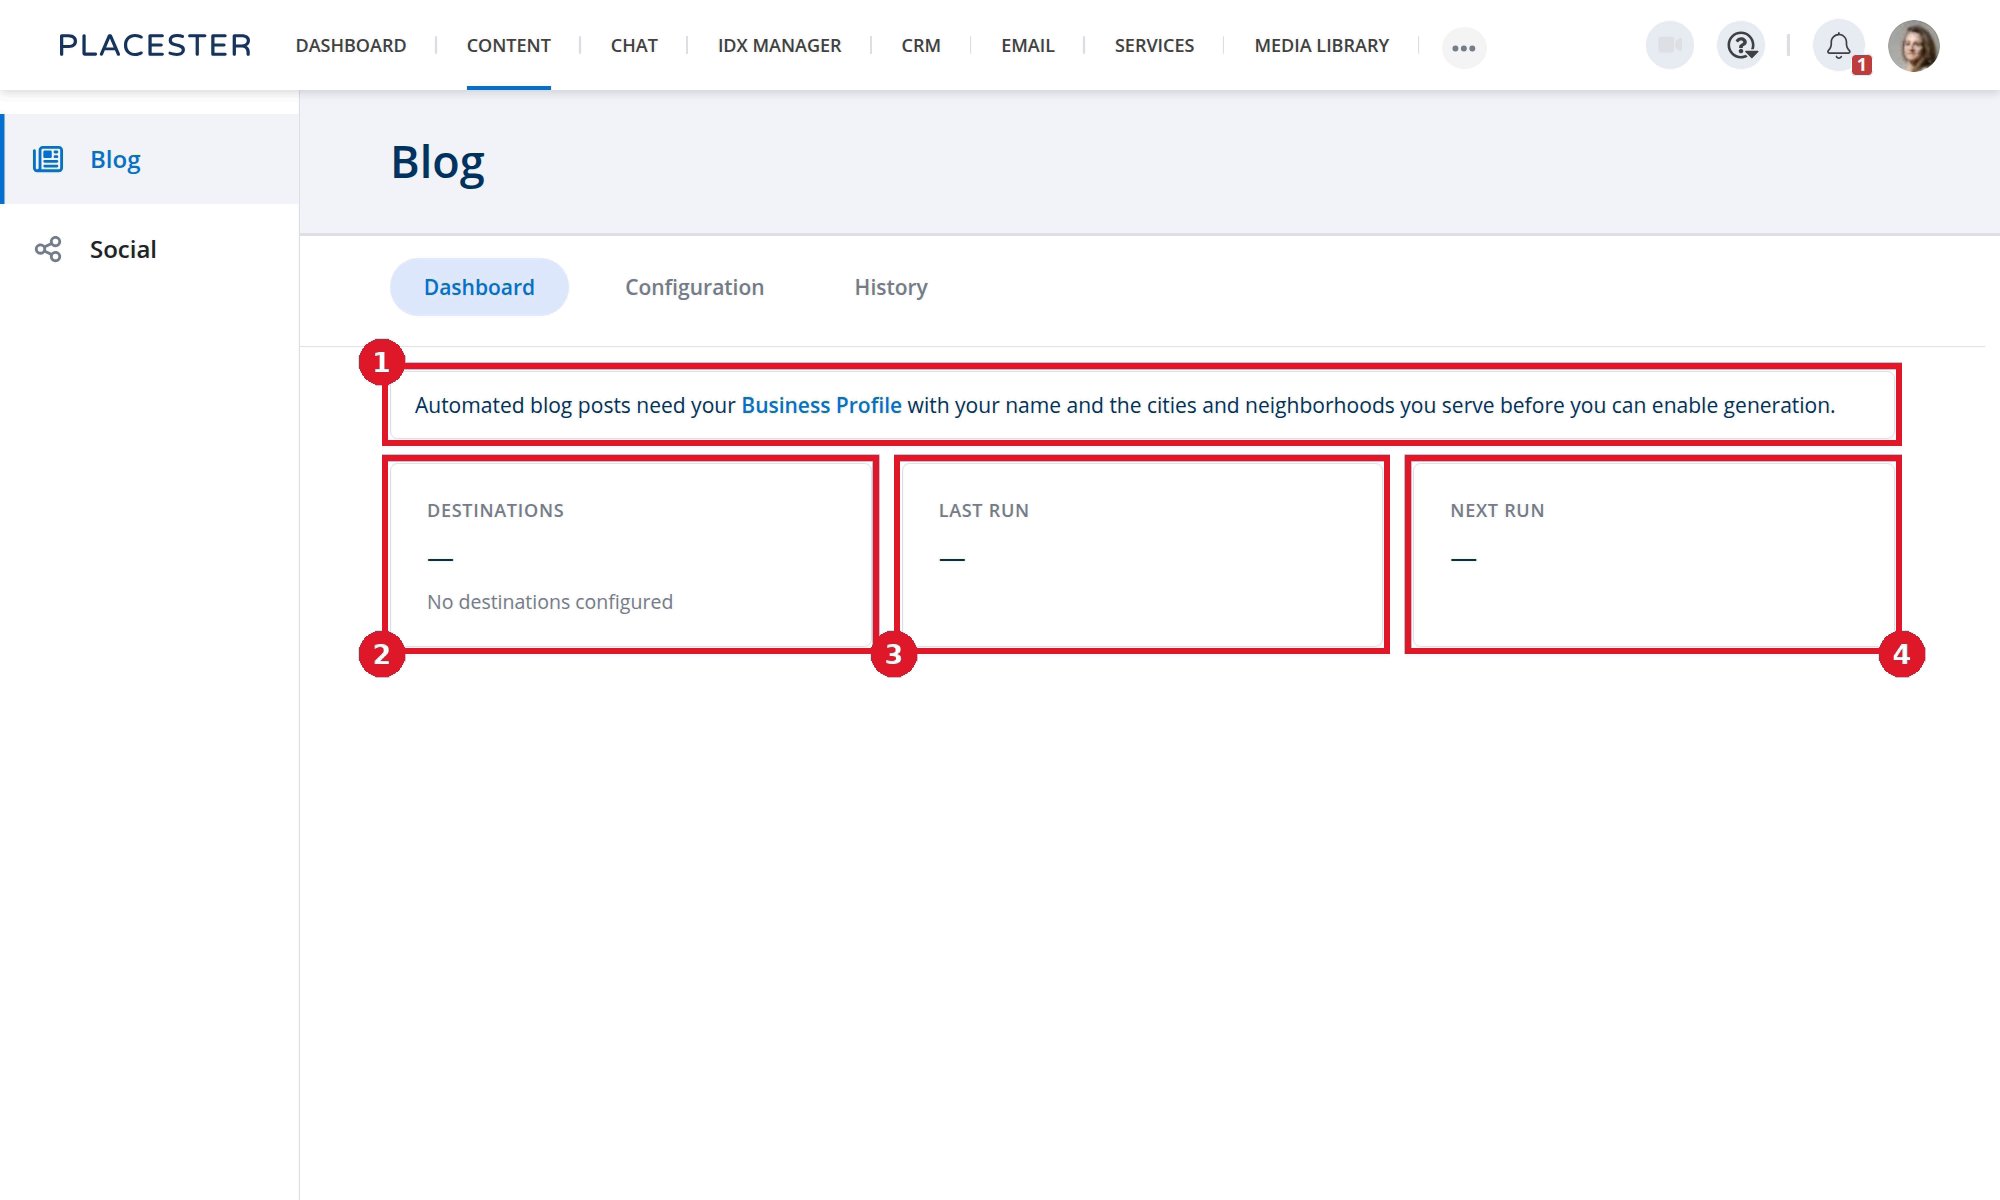
- The banner links to Business Profile when your name or operating areas are missing.
- Destinations is empty until setup selects a site.
- Last run is empty until a run completes.
- Next run is empty until setup creates a schedule.
History
Select History.
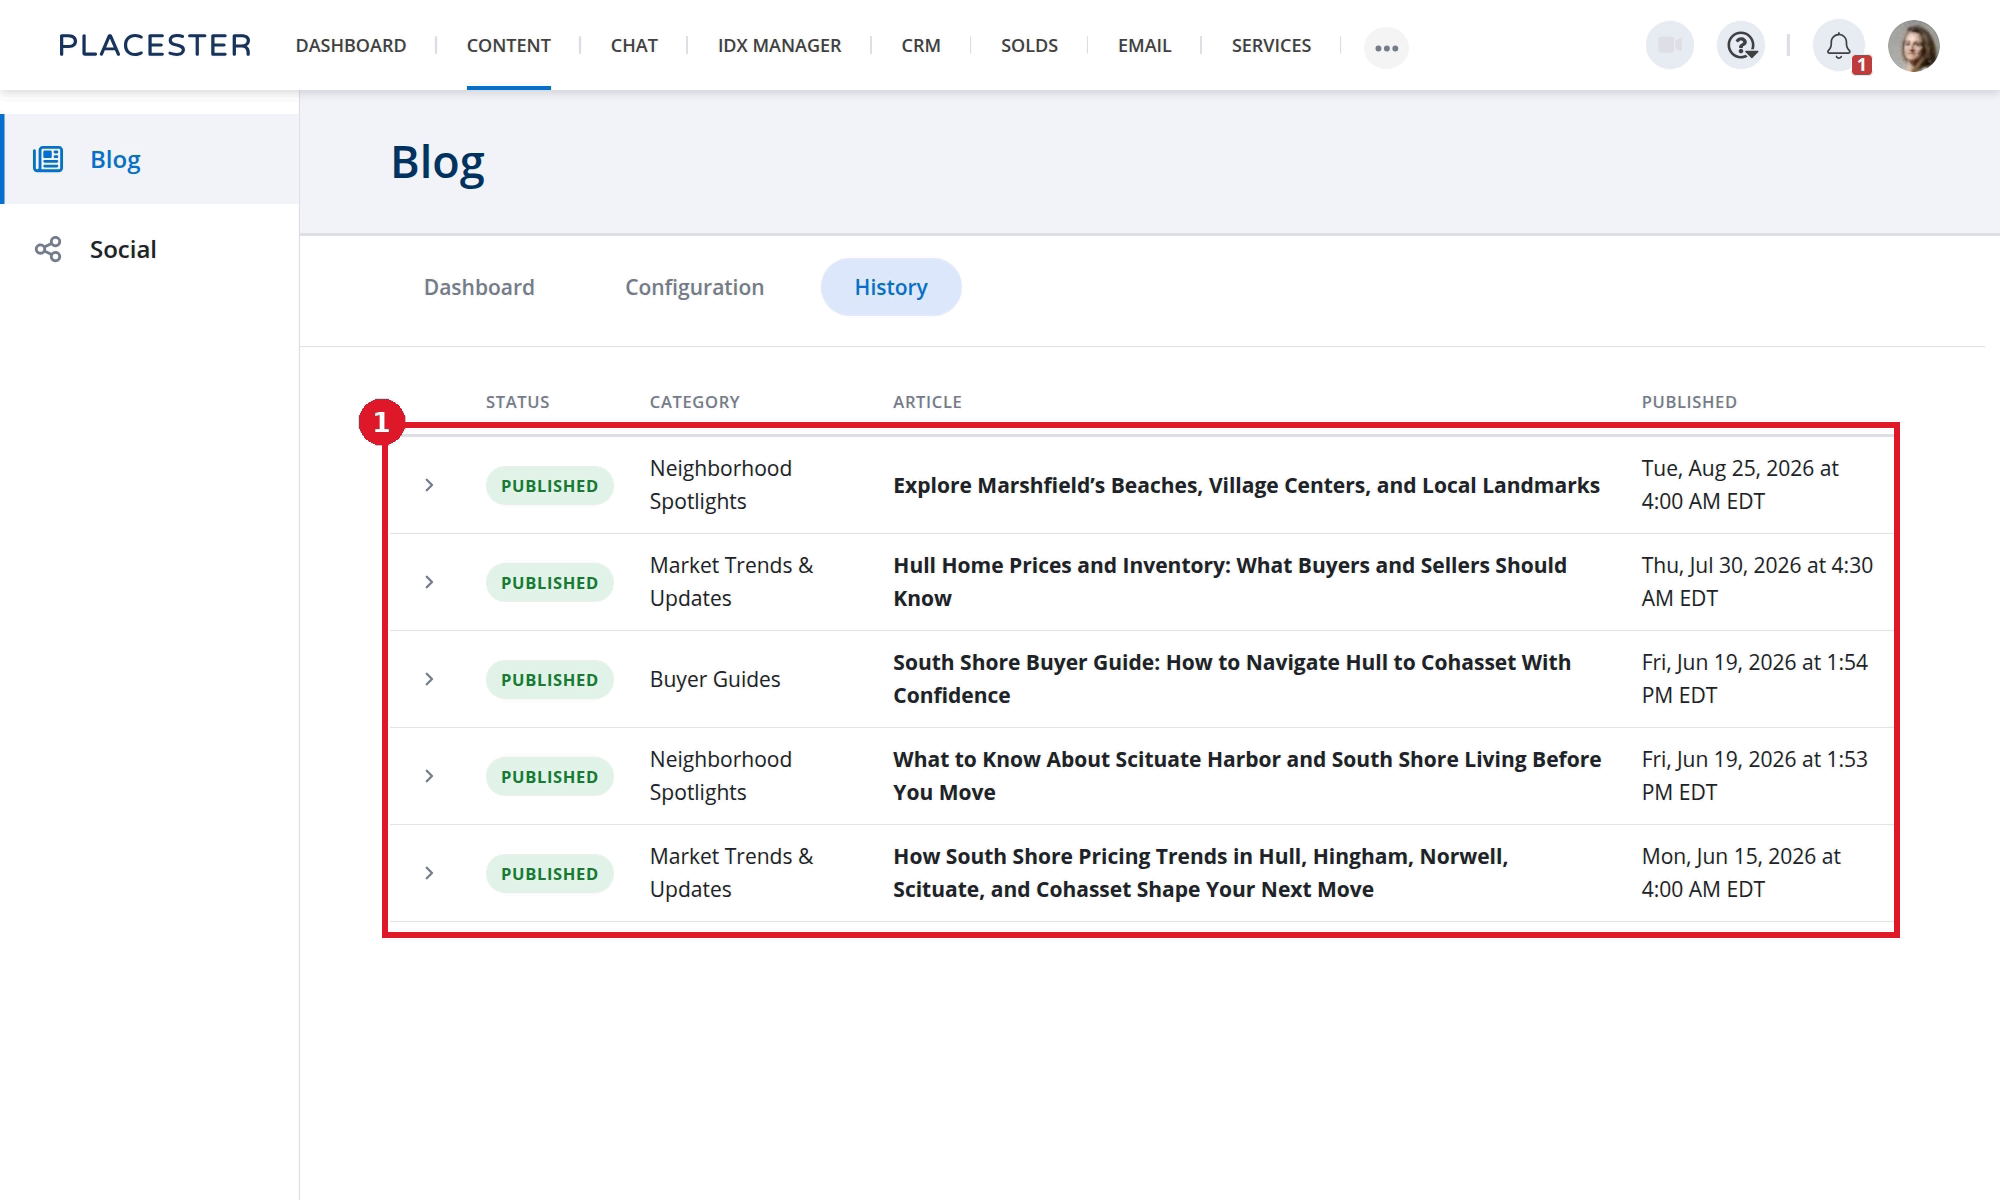
- Each row shows the status, category, article title, and published date for a content run.
Statuses can include:
- PUBLISHED
- SCHEDULED
- IN PROGRESS
- FAILED
Select the arrow at the start of a row to see its destination details.
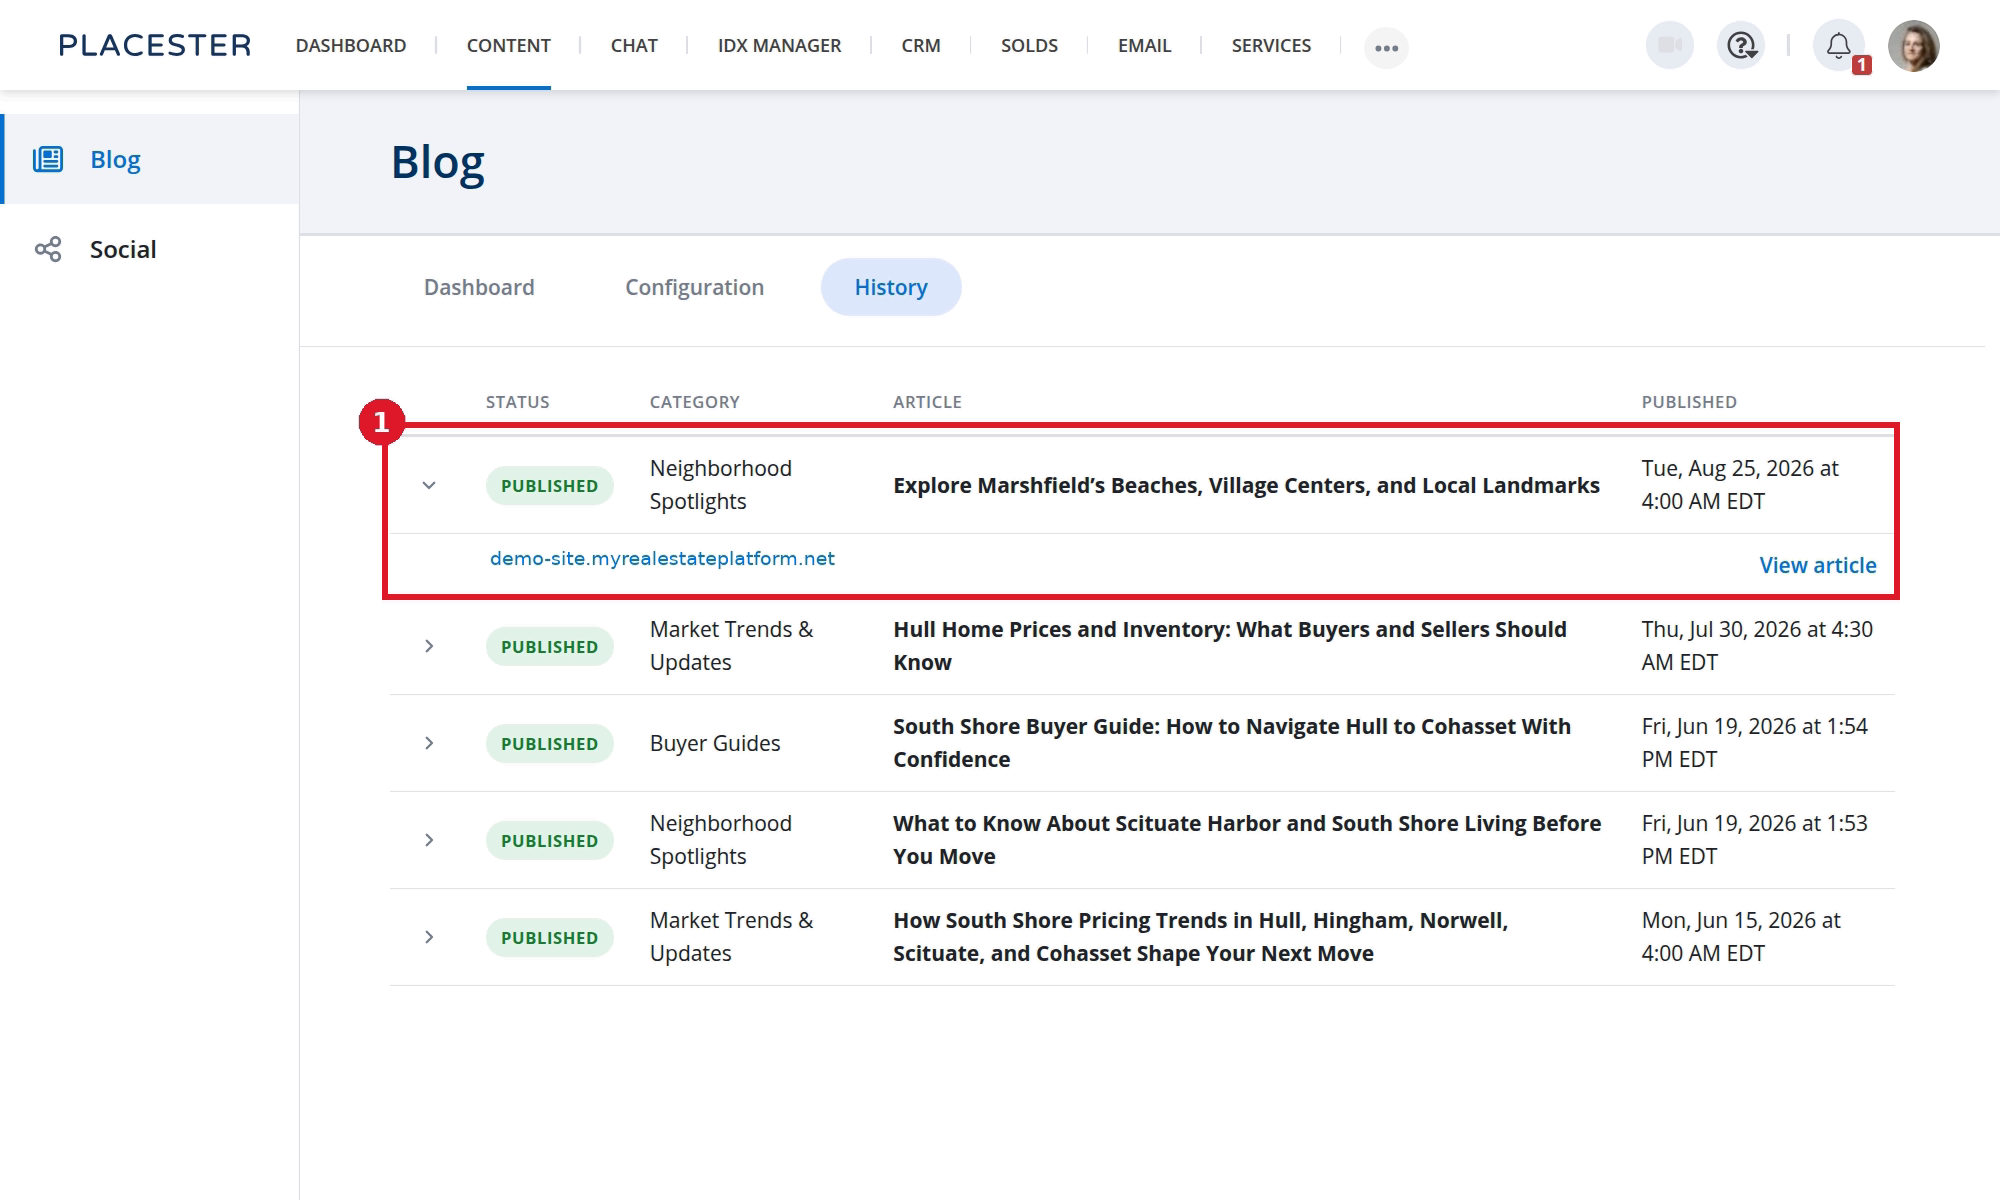
- A published row shows the destination domain and View article. View article opens the live post on the selected website; it does not open an editor.
History only lists Content Automation runs. Hand-written blog posts do not appear here.
Before the scheduler creates its first run, History shows No automated posts yet.
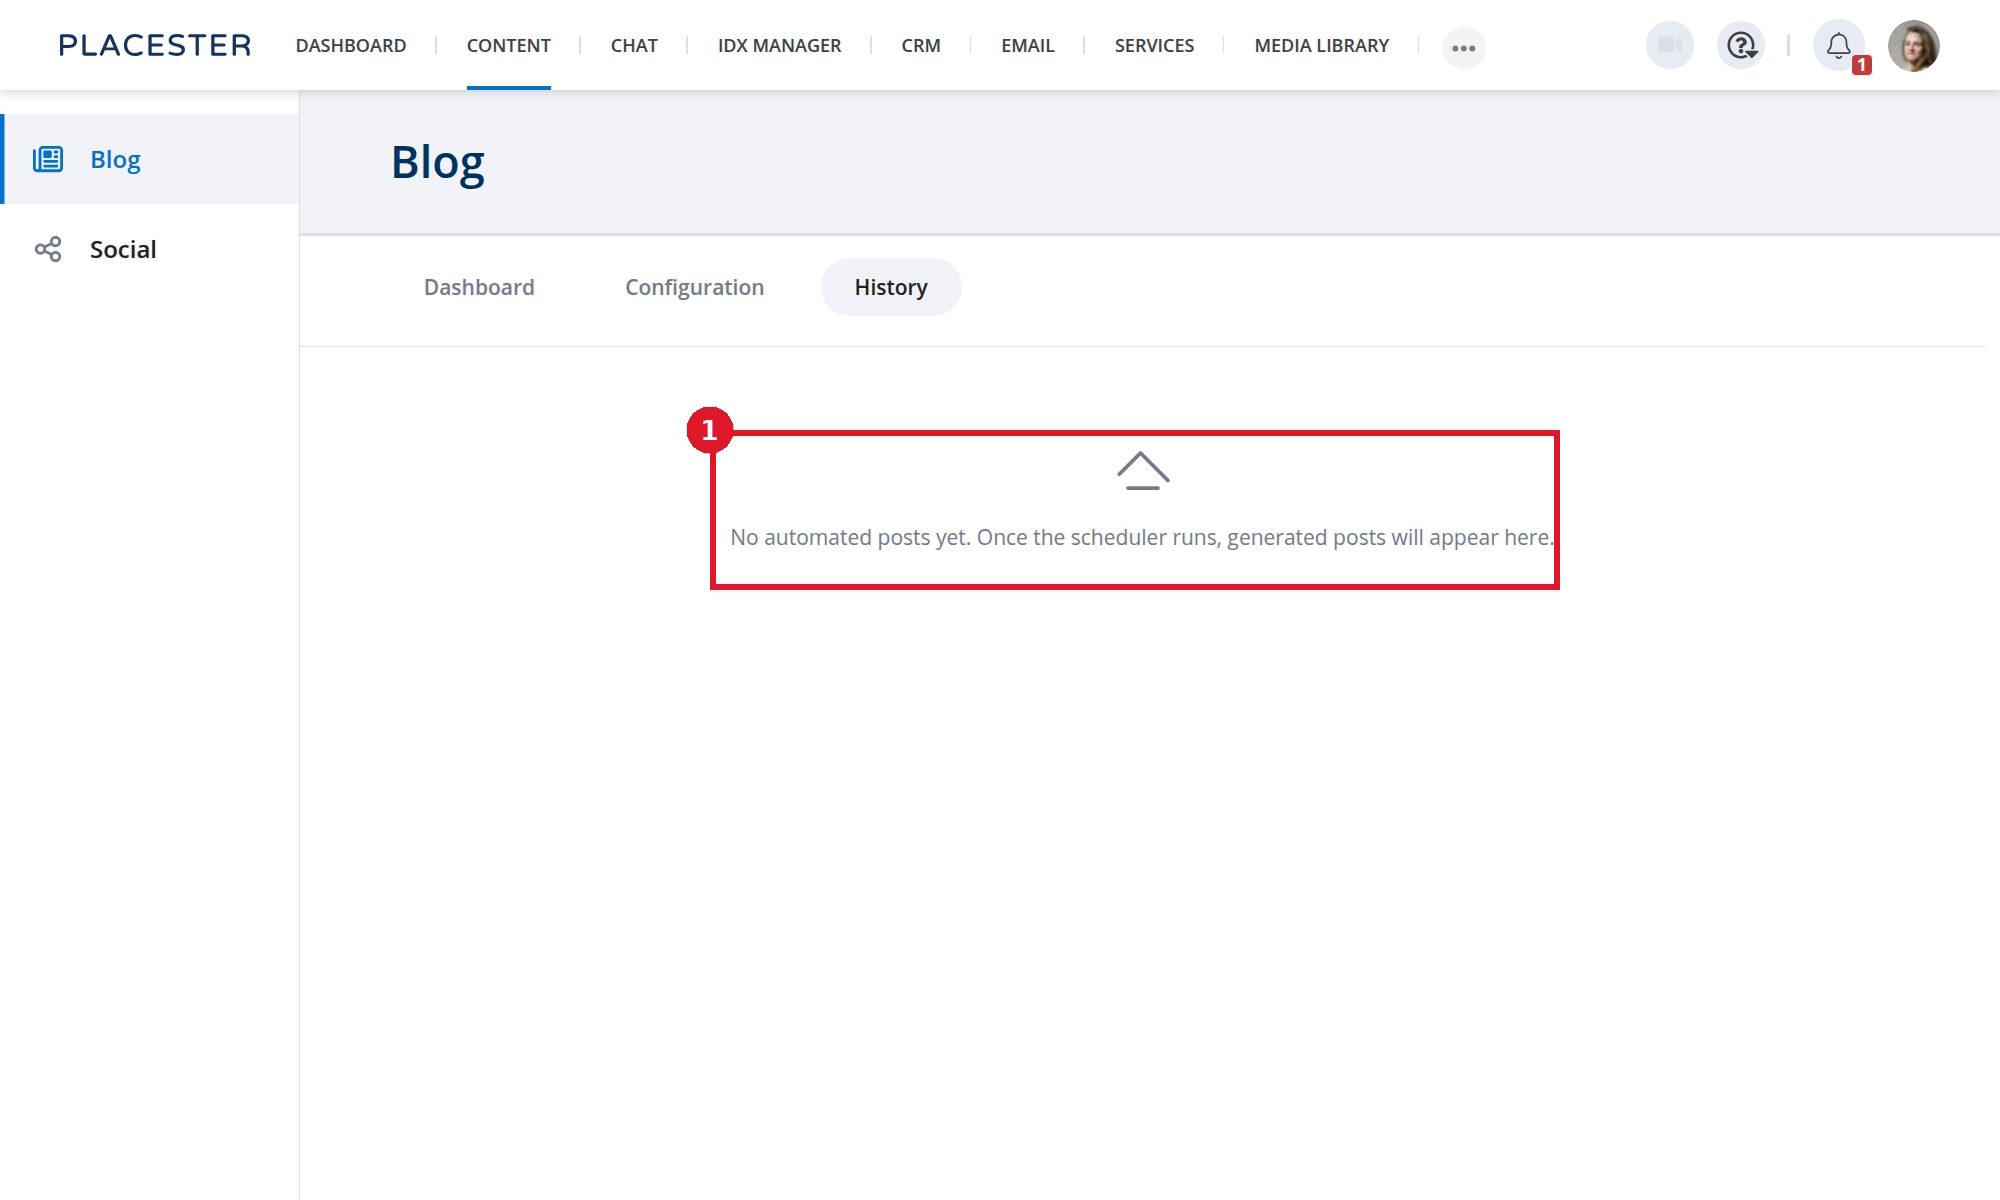
- Generated posts appear here after the scheduler begins creating runs.
Configuration
Select Configuration to change publishing mode, categories, schedule, or destination. See How To Get Started with Content Automation.
Need more help?
If you have questions about Content Automation, contact Placester Support at support@placester.com.