Create and Manage Agent Groups in your Agent Index page
These steps are for the Legacy Customizer. For Site Edit, see Showing Your Agents on Your Website.
This article will show you how to create and manage agent groups within your team/agents page.
A Group is a collection of agents that you've grouped together consisting of agents from the same office, a team who works in a specific area, or a sales or rental team.
Please note: This feature is only available through our Office Builder / Broker Pro subscriptions. If you would like to learn more about this subscription, please check out our packages and pricing page.
Agent Manager> New agents
Adding or Creating a New Agent profile/ user is one of the features that are available in the agent manager section. To know how to add new agents, you can visit Adding/ Creating New Agent using Agent Manager.
All agents details on the user/ agent section are available and synchronized on your customizer section when creating an agent page or using the agent index template.
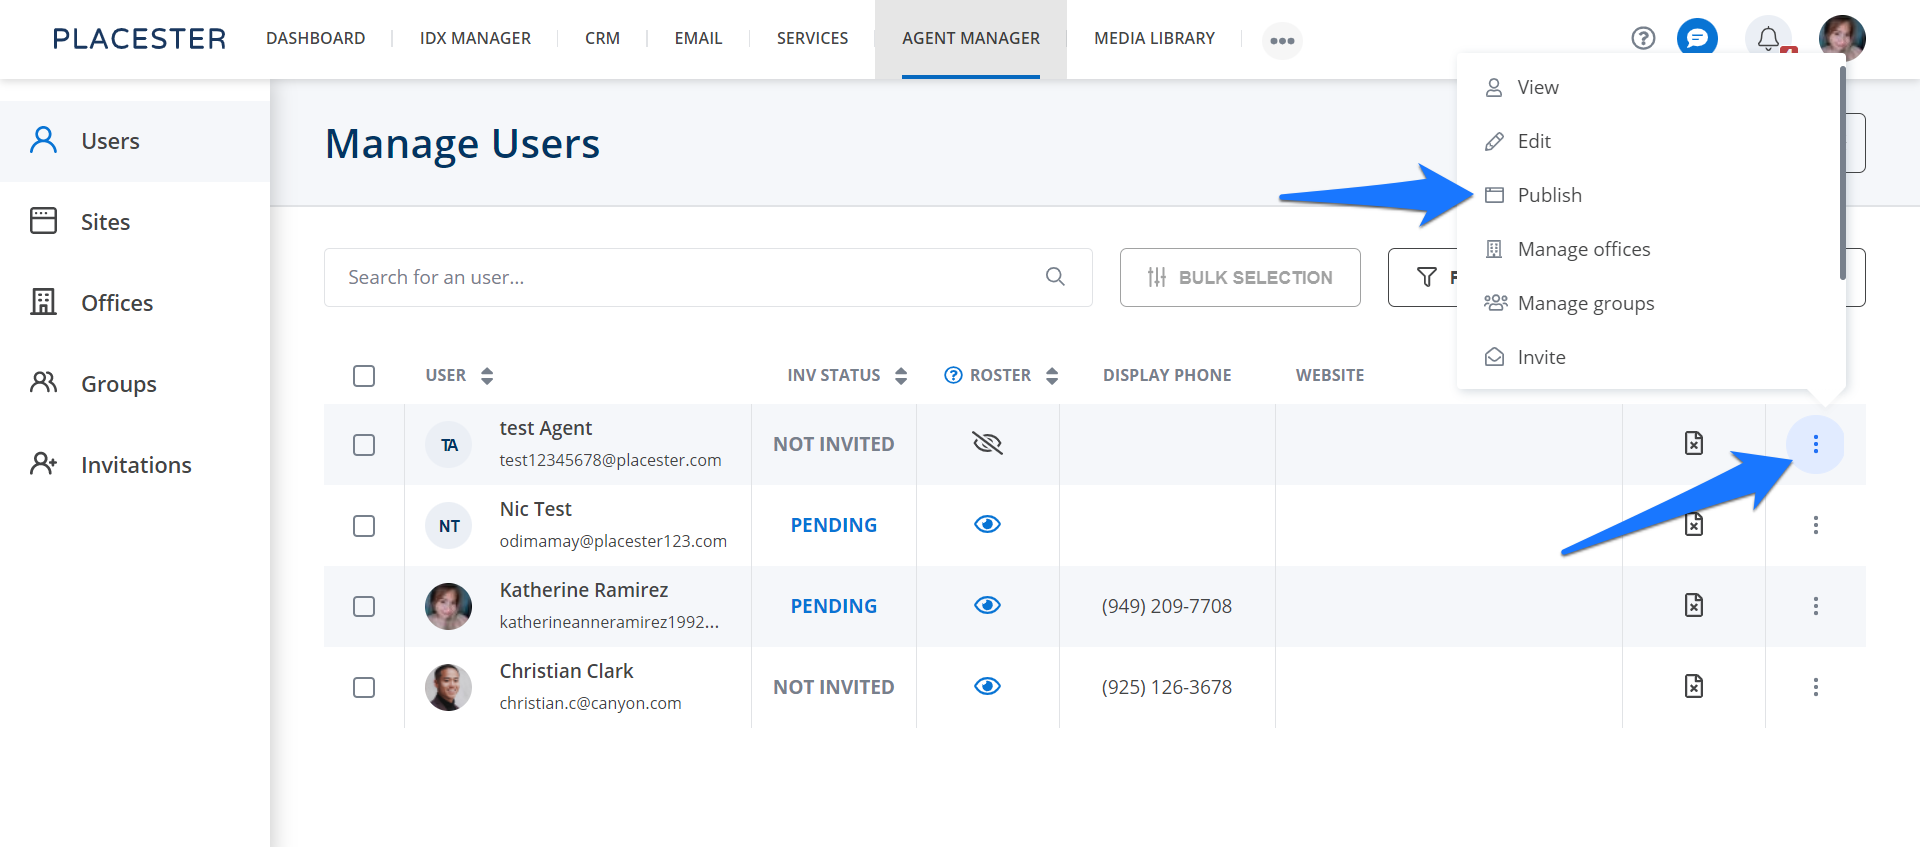
After adding a new agent, you will have to publish them to create an agent page for them. To do it, click the three dots then click the Publish button.
Agents> Groups
Once done, you can proceed to your customizer under Managing Content, click AGENTS.
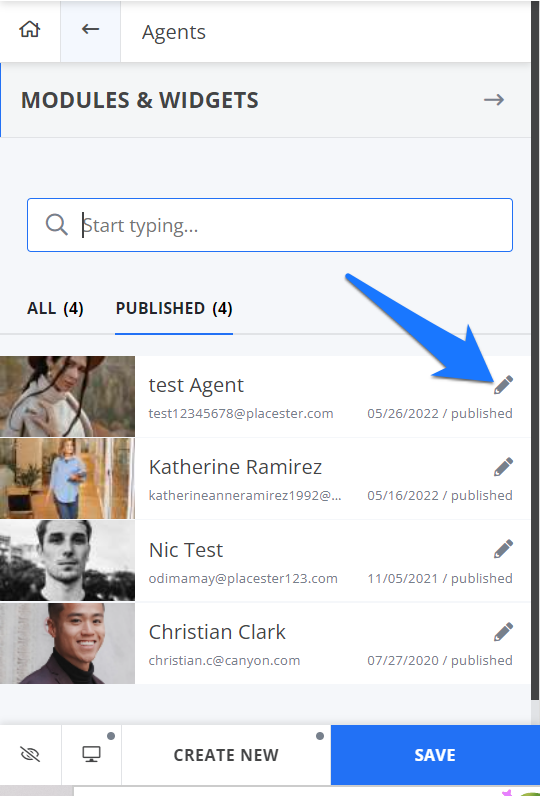
This will bring you to the list of your published agents. And to add an agent to a group, simply click the pencil icon.
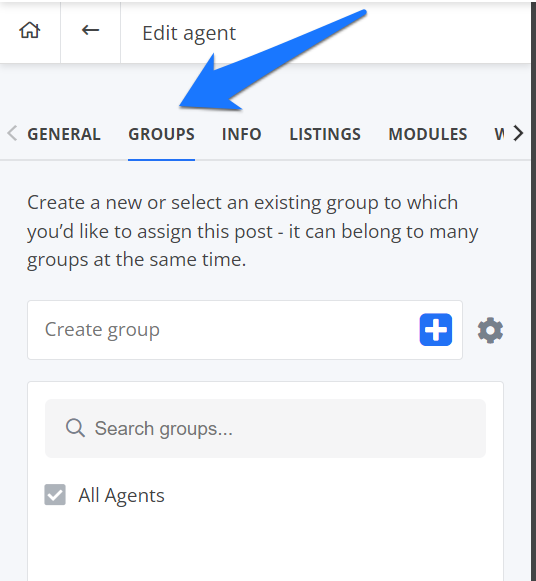
This will bring you to the page where you can update an agent's information. Click the Group tab.
To add a new Group, just type the name of the group ( office name, team, area) and click the plus (+) icon.
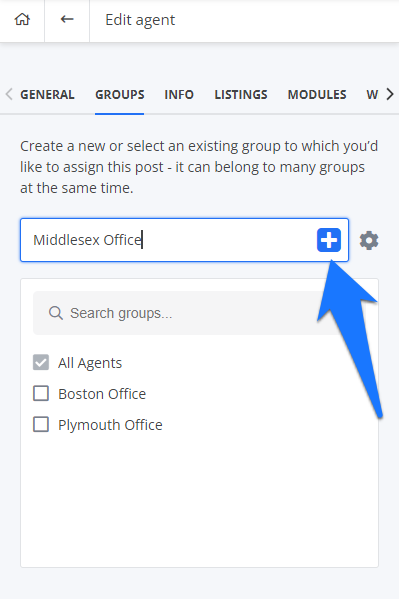
And after adding your groups, you can tick the box of the group to which you would like your agent to be added.
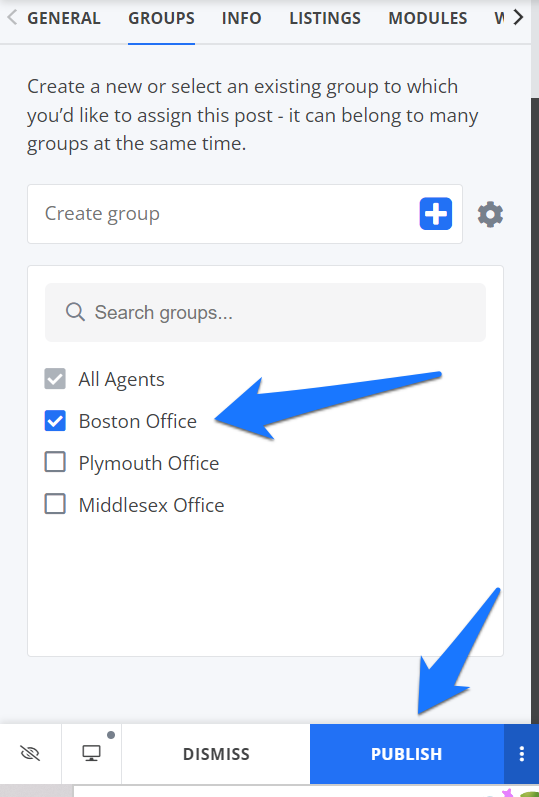
Then click Publish.
Need more help?
For questions, concerns, or feedback, please chat with our team: https://app.placester.com/chat