Embedding HTML, Forms, and Files
Legacy Customizer steps: Customizer: Adding HTML to a Page [Codeless] Legacy Customizer steps: Embedding A PDF or File To A Page [Codeless]
The Custom Code module shows the HTML code that you paste into it. Use it to embed a map, a video, a form or a document from another service on a page of your website. Your changes go into a draft. Visitors see them after you publish.
Code that does not work correctly can break the look of your page. Add only code from a source you trust. To add a script to every page of your site, such as a chat widget or a tracking code, see Adding Tracking Codes and Custom Code.
Add a Custom Code module
- Open Site Edit on the page where you want the code. For more, see Working with Modules.
- Select the + button at the place where you want the module. At the top of the page, select Add a module at the top. The Add module panel opens.
- Scroll down the list of module types to Custom Code.
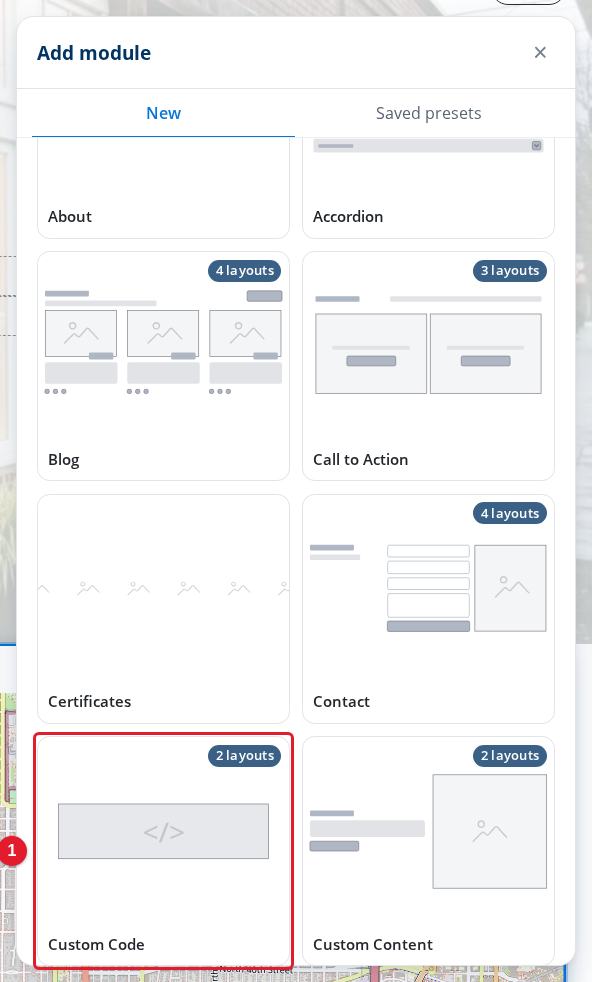
- Custom Code: A module that shows the HTML code you paste into it.
Select Custom Code. The panel shows its two layouts.
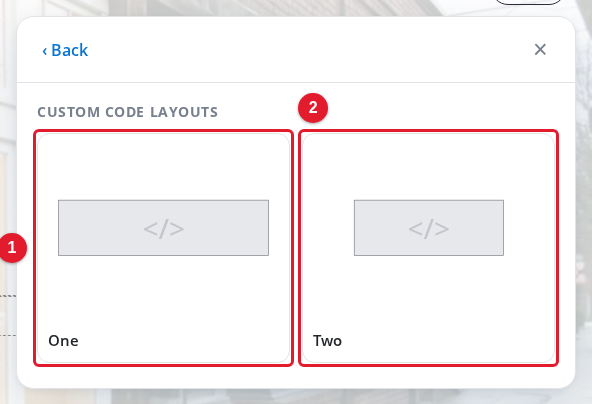
- One: Adds the Custom Code module with layout One.
- Two: Adds the Custom Code module with layout Two.
Select a layout. The module goes onto the page as a thin, empty row that shows Click to add text.
Add your code
- Move the pointer over the Custom Code module. A small toolbar appears at its top-left corner. On an empty module, point at the left or right part of the row, not at the + button in its middle.
- Select Customize Content on the toolbar.
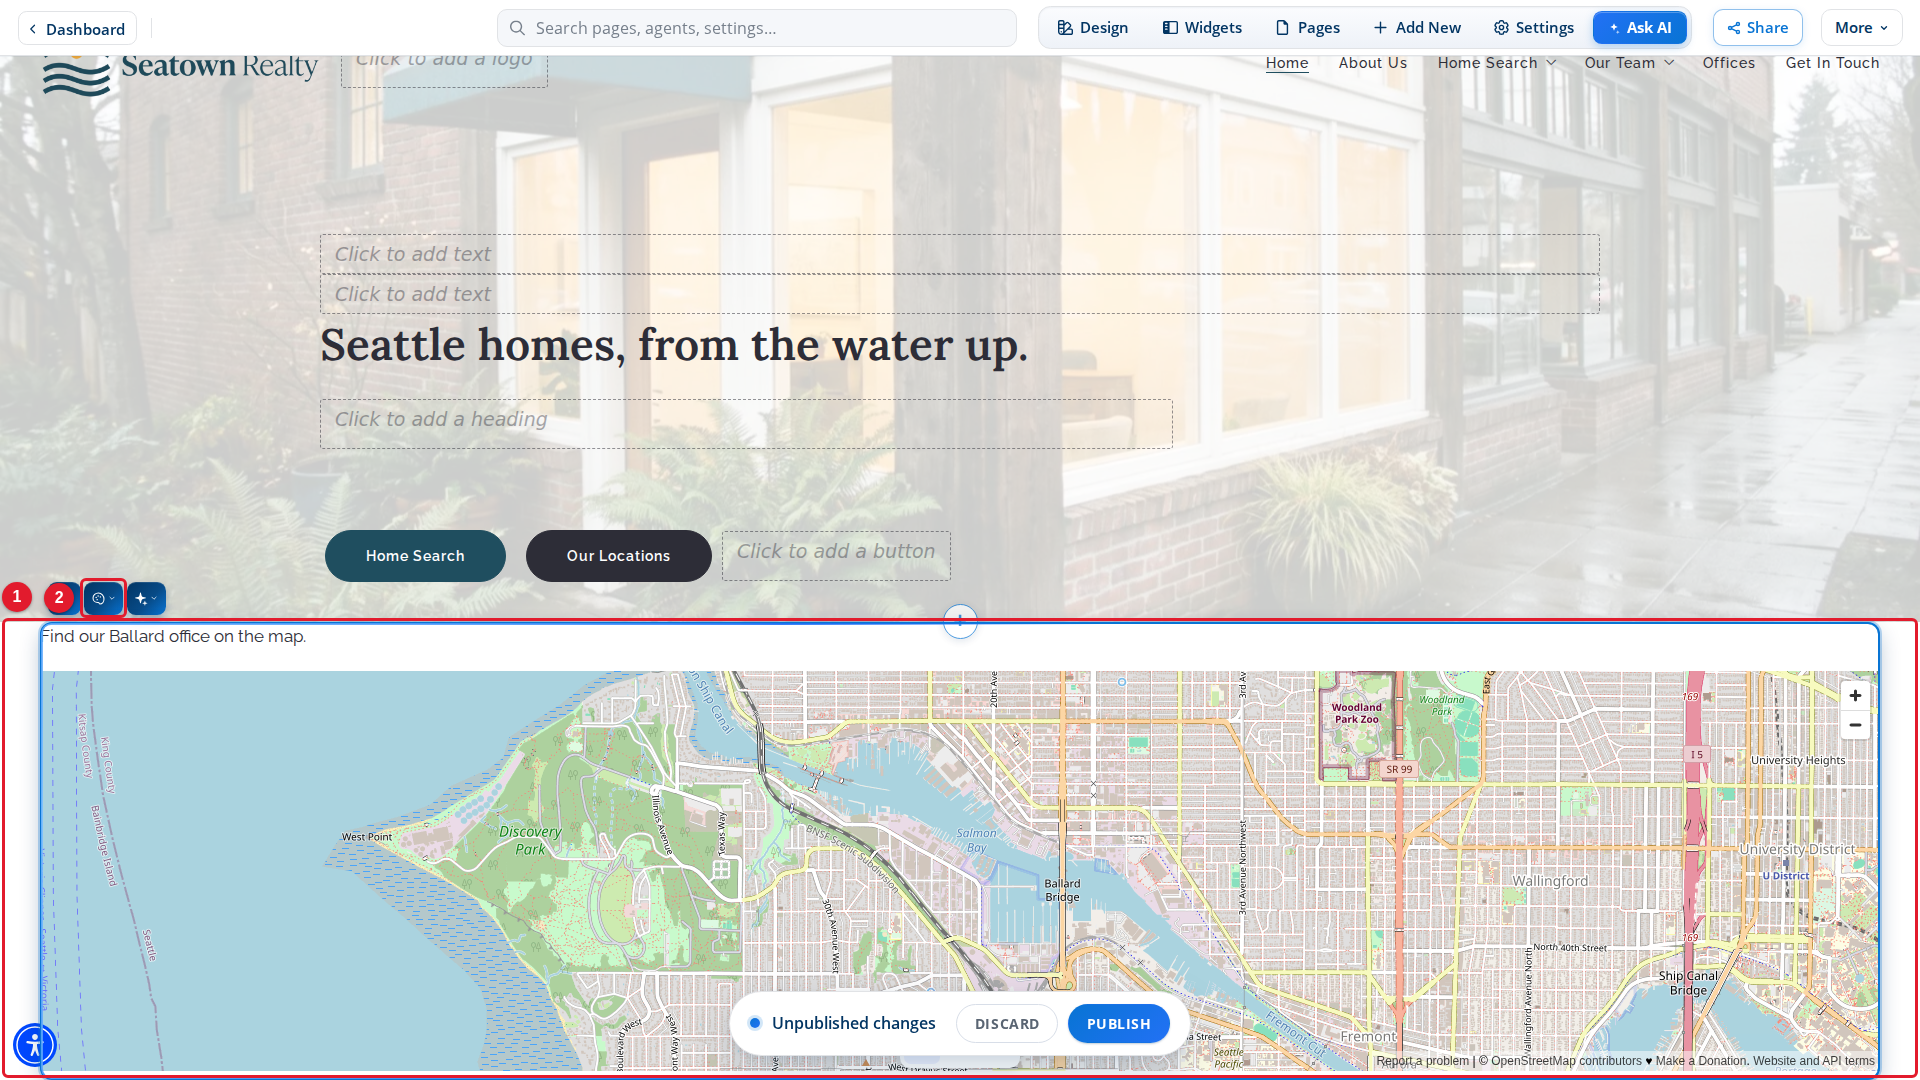
- Custom Code module: The module on the page. Point at it to show its toolbar.
- Customize Content: Opens the Edit Content panel with the code of the module.
The Edit Content panel opens. Paste or type your HTML in its box. The code saves to your draft as you type.
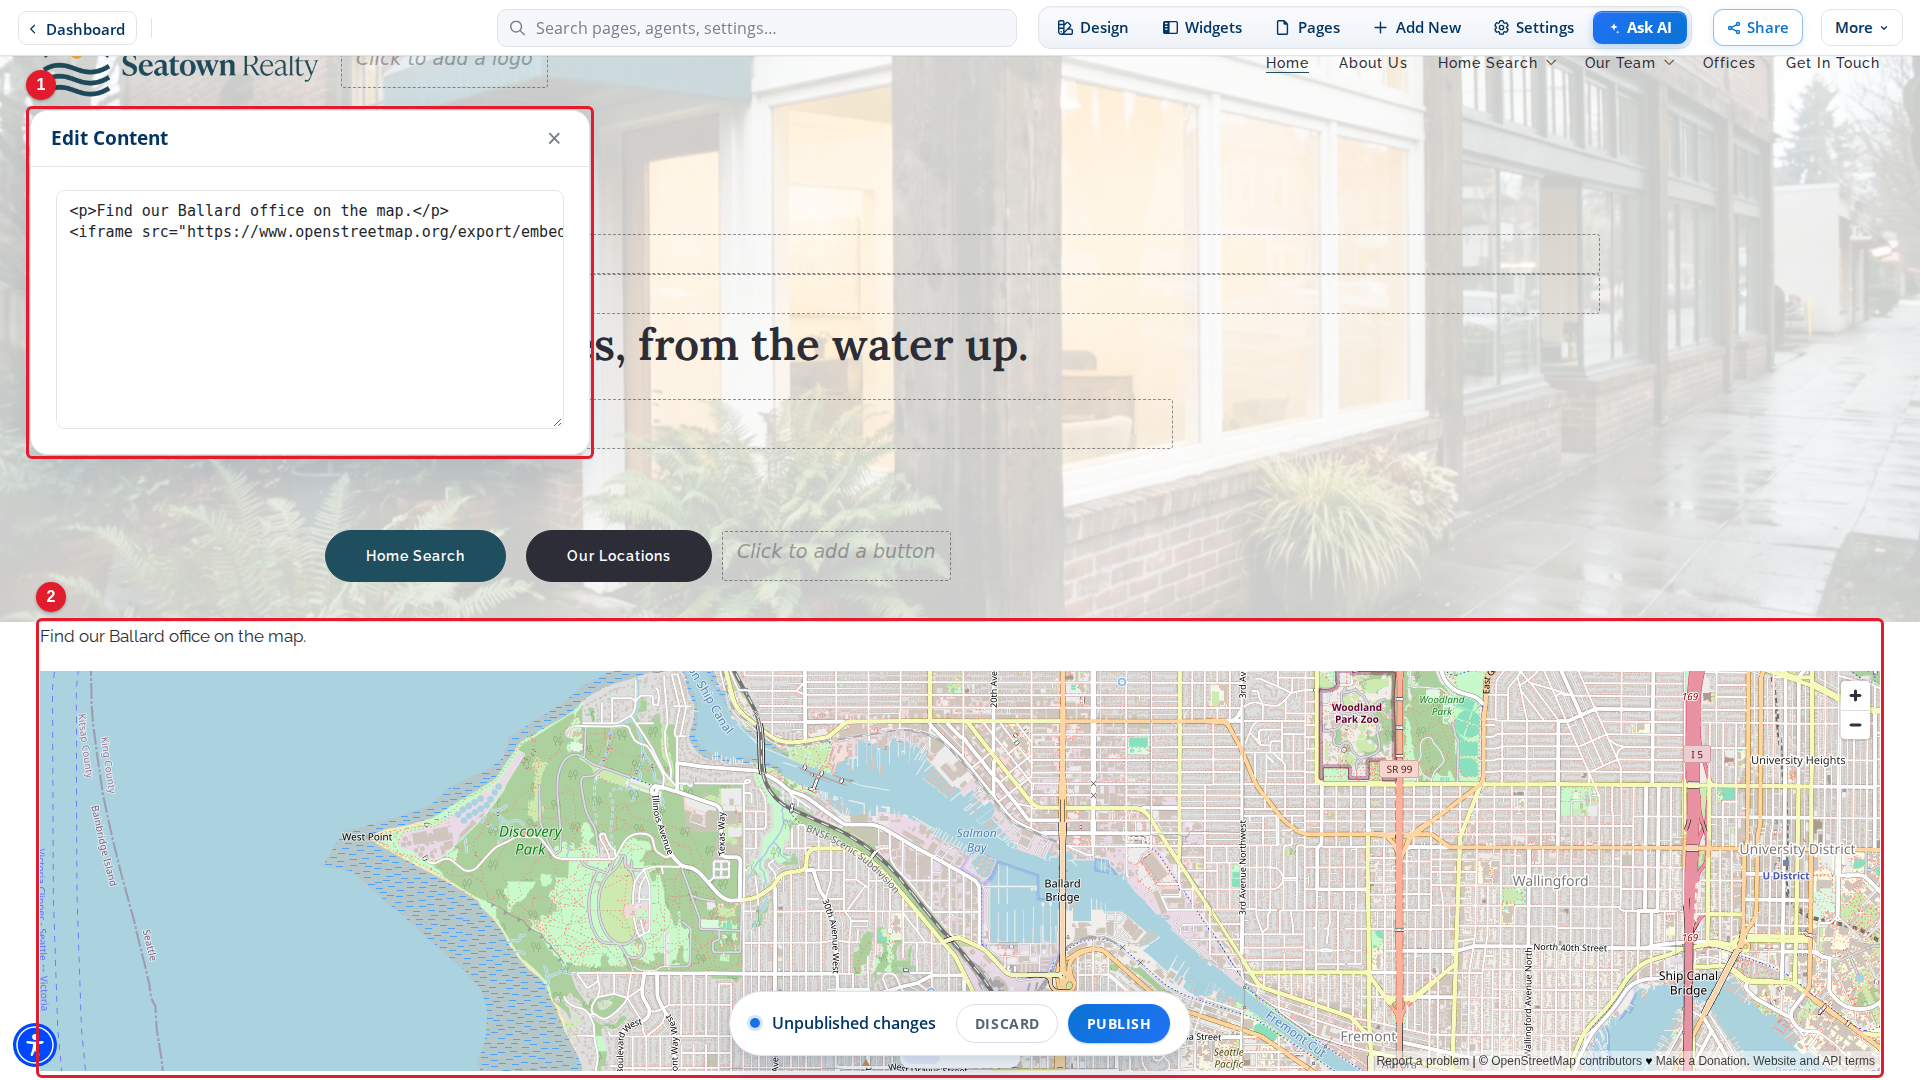
- Edit Content: The code box of the module. Paste or type your HTML here.
- Result: What visitors see: here, a line of text and an embedded map.
The code in this example is a paragraph and an iFrame:
<p>Find our Ballard office on the map.</p>
<iframe src="https://www.openstreetmap.org/export/embed.html?bbox=-122.40%2C47.65%2C-122.37%2C47.67" width="100%" height="400" style="border:0"></iframe>
The page in Site Edit does not show new code at once. Reload Site Edit in your browser to see the result. Your draft stays.
Embed a form
Many form services give you embed code, often an <iframe>. Copy that code from the form service. Then paste it in the Edit Content box of a Custom Code module, as in the section above.
Set the height of the iFrame so that the whole form shows without a scroll bar. Use width="100%" so that the form fits the page on a phone.
Link to or embed a PDF
Your Media Library does not take PDF files. To share a PDF or another file, keep it on a file sharing service such as Dropbox or Google Drive. Set the file so that anyone with the link can view it, and copy its link.
To link to the file:
- From a word on a page, select the words and use Insert link. For more, see Formatting Text, Links, Images, and Tables.
- From your menu, add a link with Custom URL. For more, see Editing Your Navigation Menu.
To show the file on the page, copy the embed code of the file from the file sharing service. Paste it in the Edit Content box of a Custom Code module.
Remove a Custom Code module
- Move the pointer over the module.
- Select the ⋮ button on its toolbar.
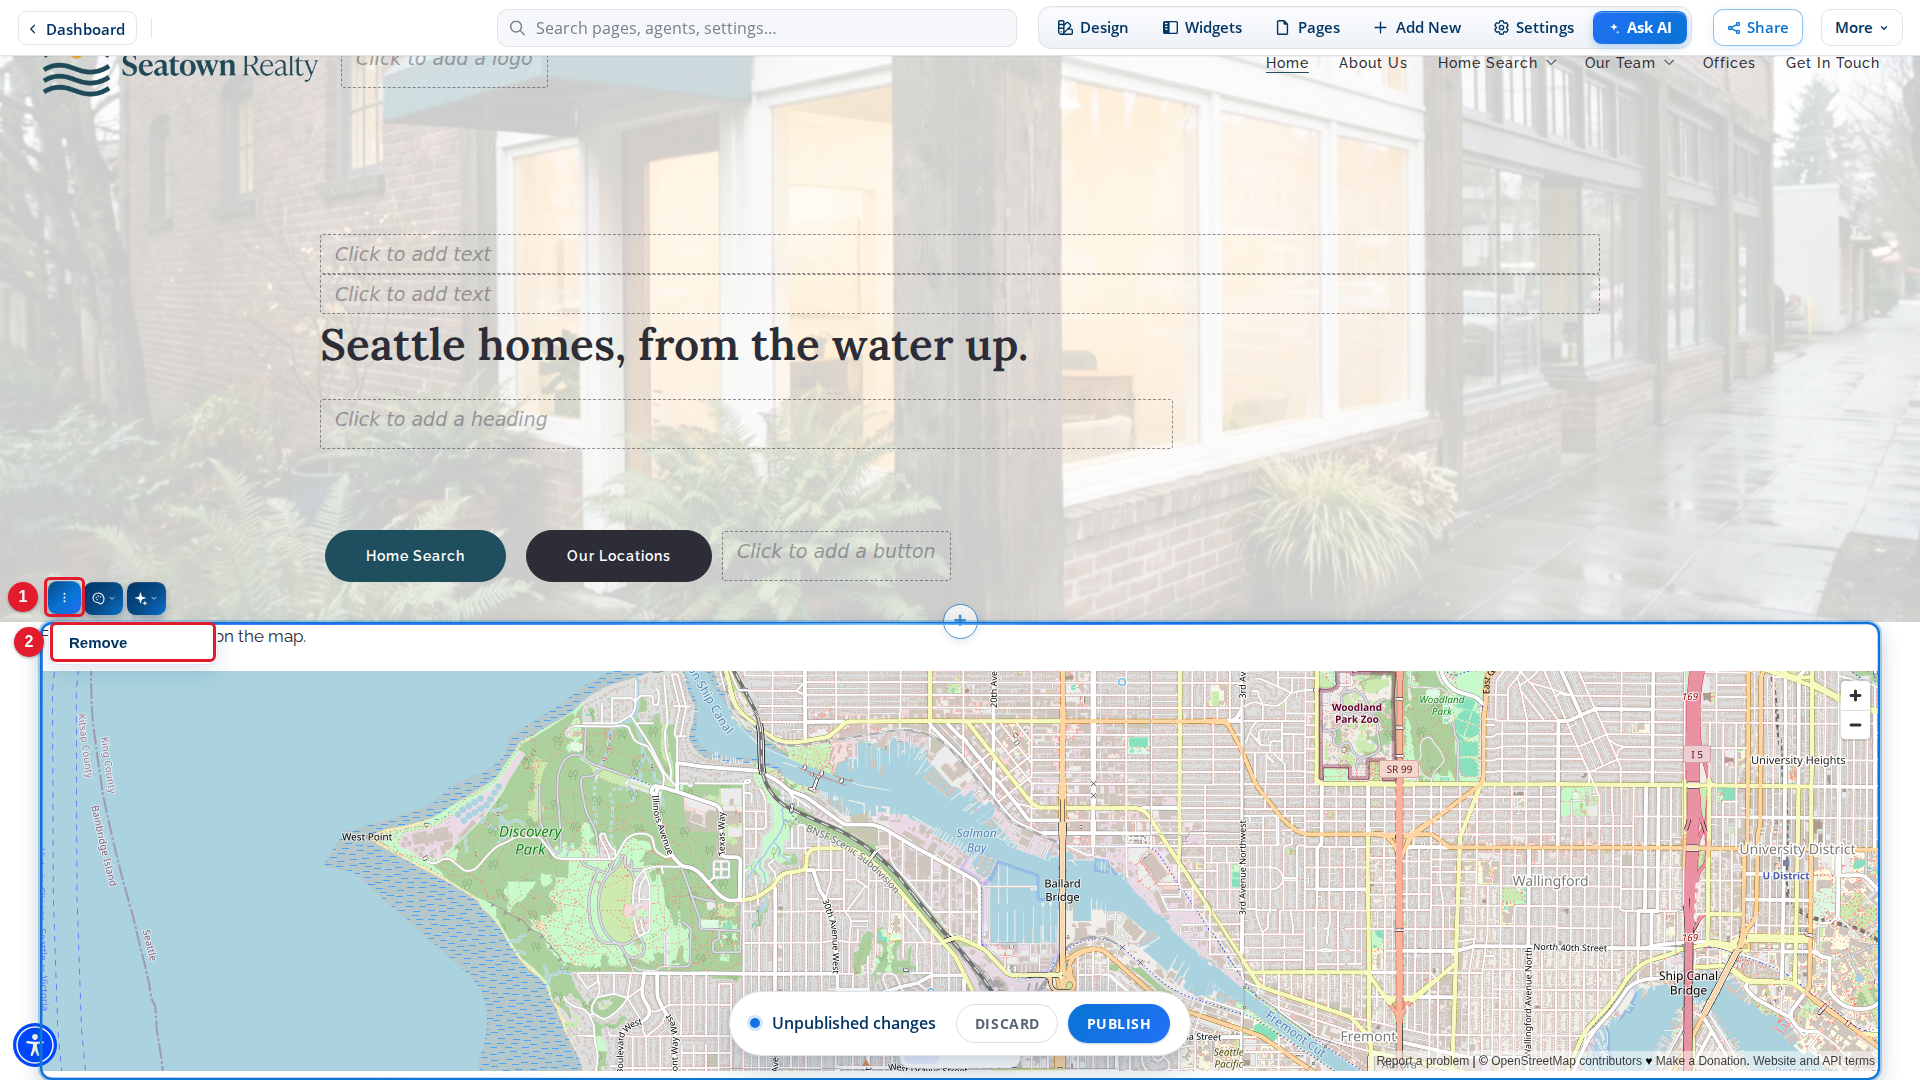
- More actions: Opens the menu of the module.
- Remove: Takes the module off the page.
Select Remove.
Publish your changes
Each change goes into your draft at once. The draft bar at the bottom of Site Edit shows Discard and Publish. Close the Edit Content panel, then select Publish to show the code to visitors, or Discard to undo all of the draft.
For more about drafts, see Publishing and Discarding Drafts.